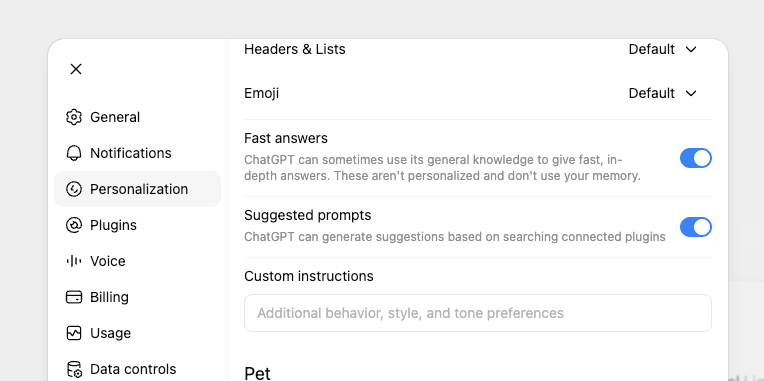
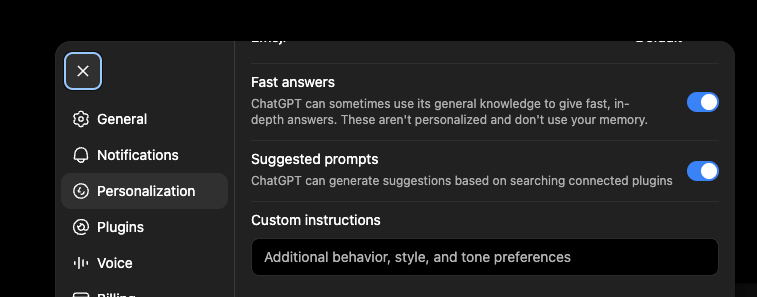
Step 1: Open Settings
Open your profile menu in the lower-left corner of ChatGPT Web and select Settings.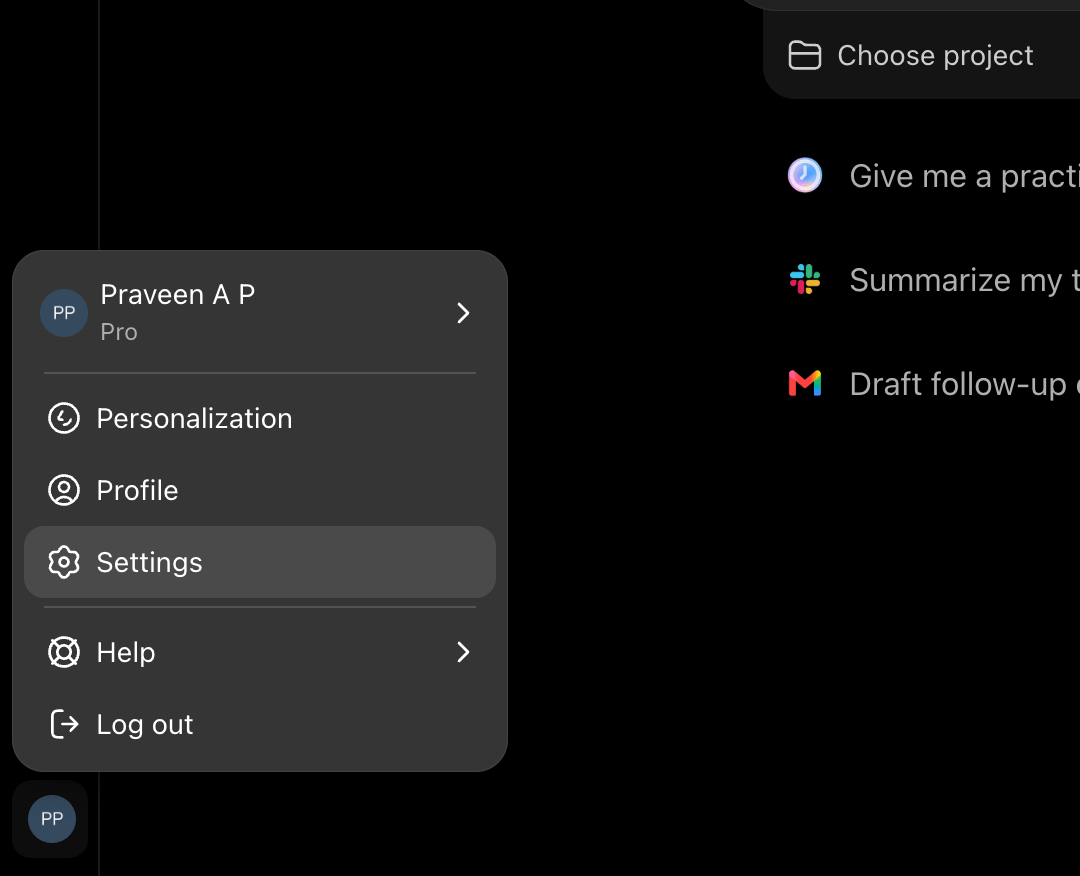
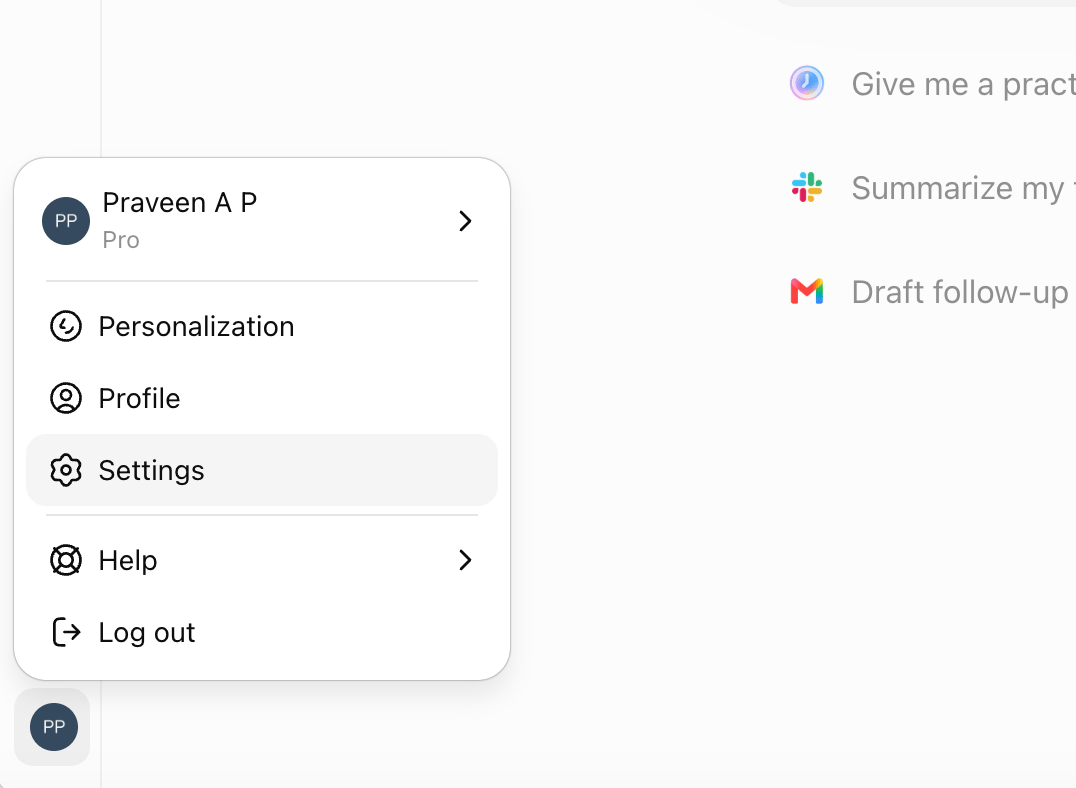
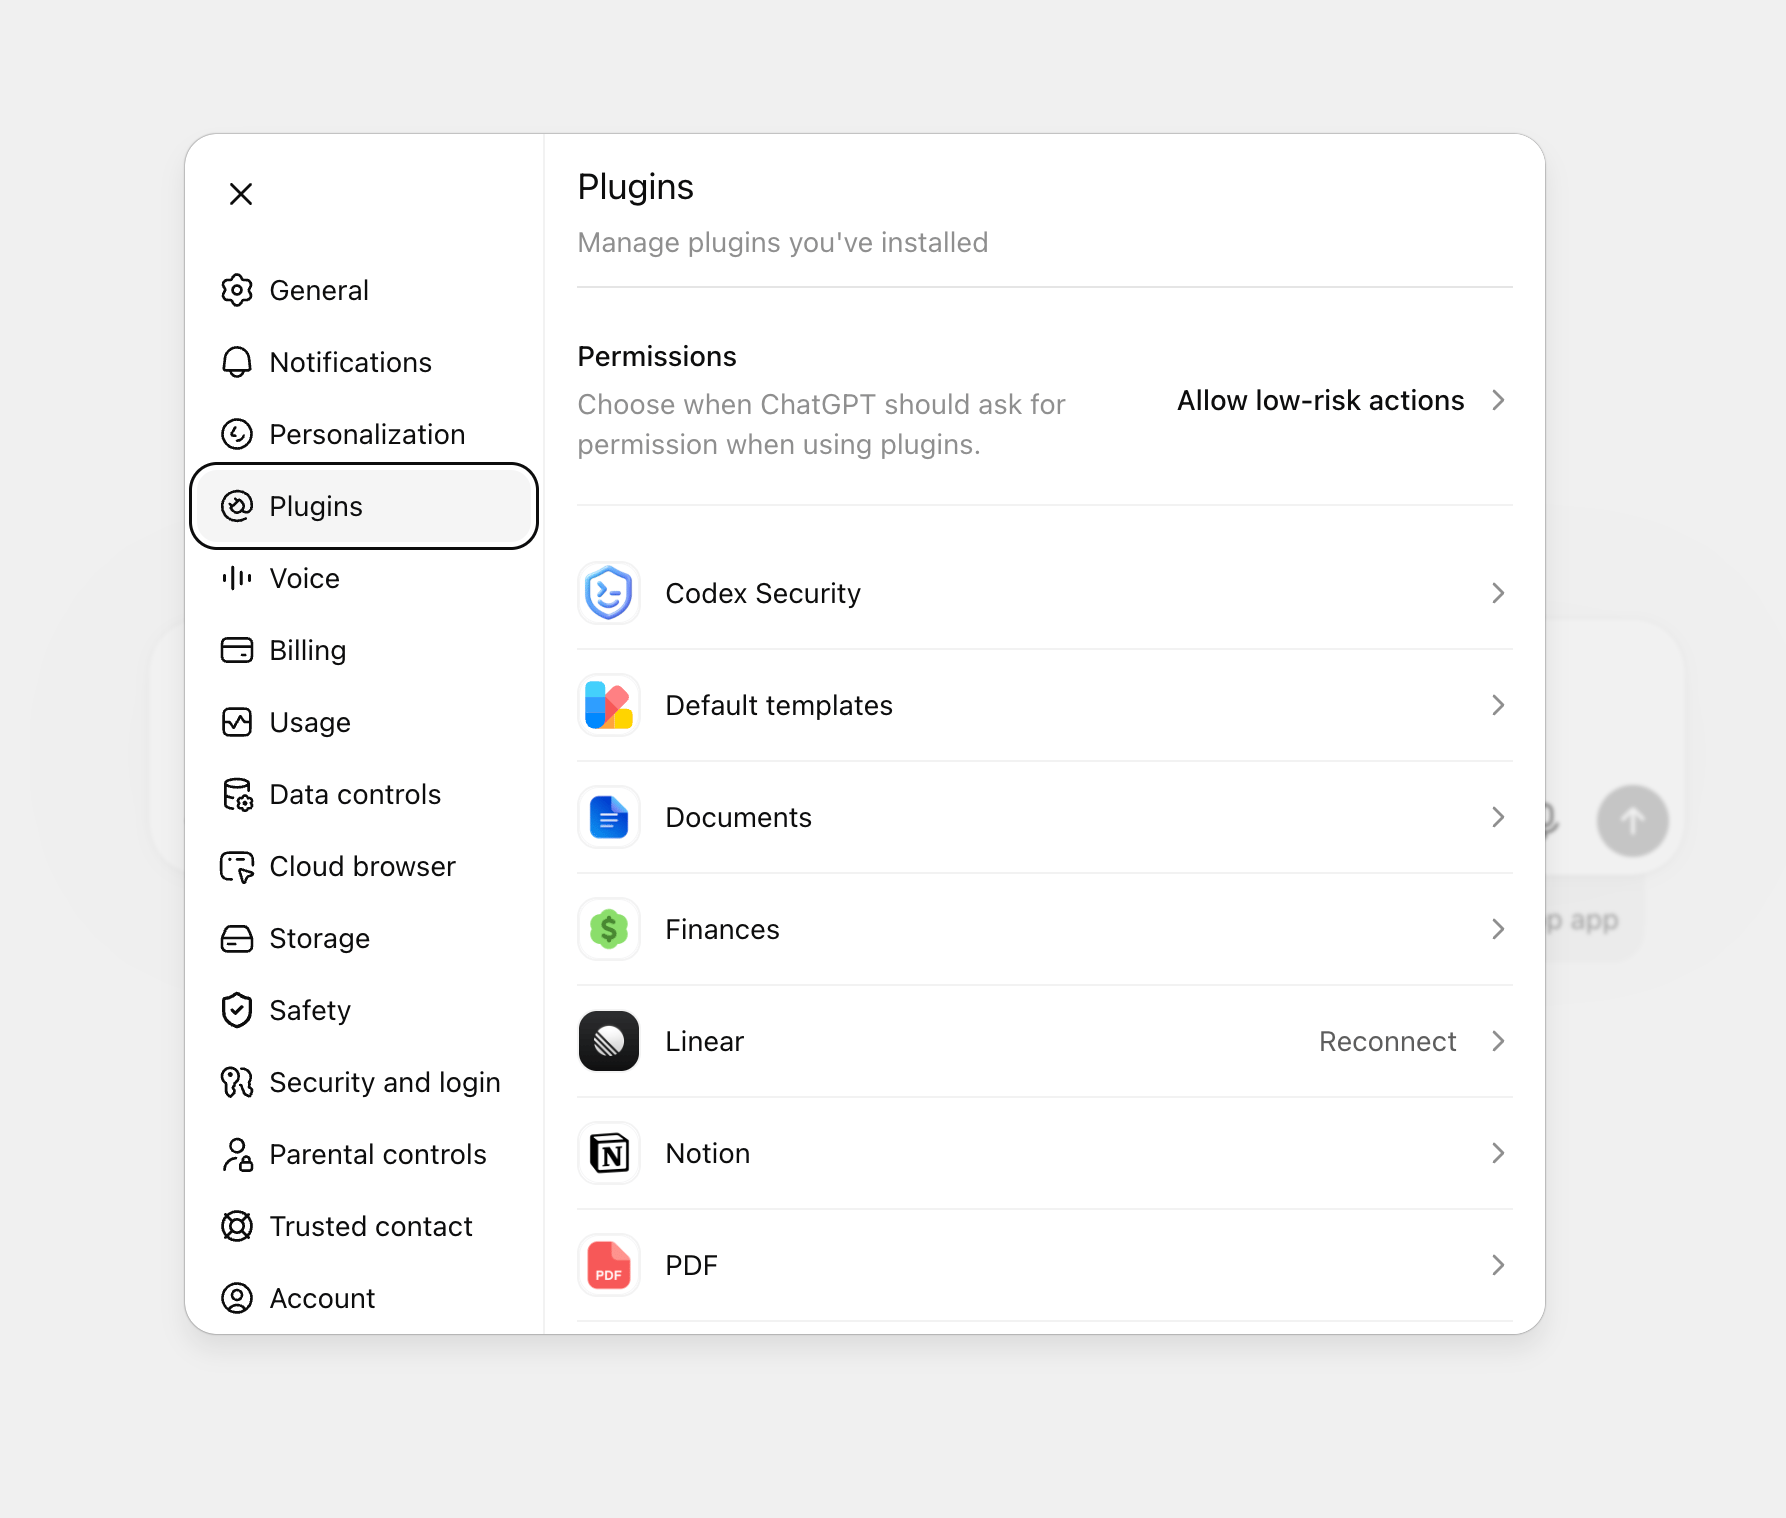
Step 2: Open Plugins
Select Plugins in the Settings sidebar.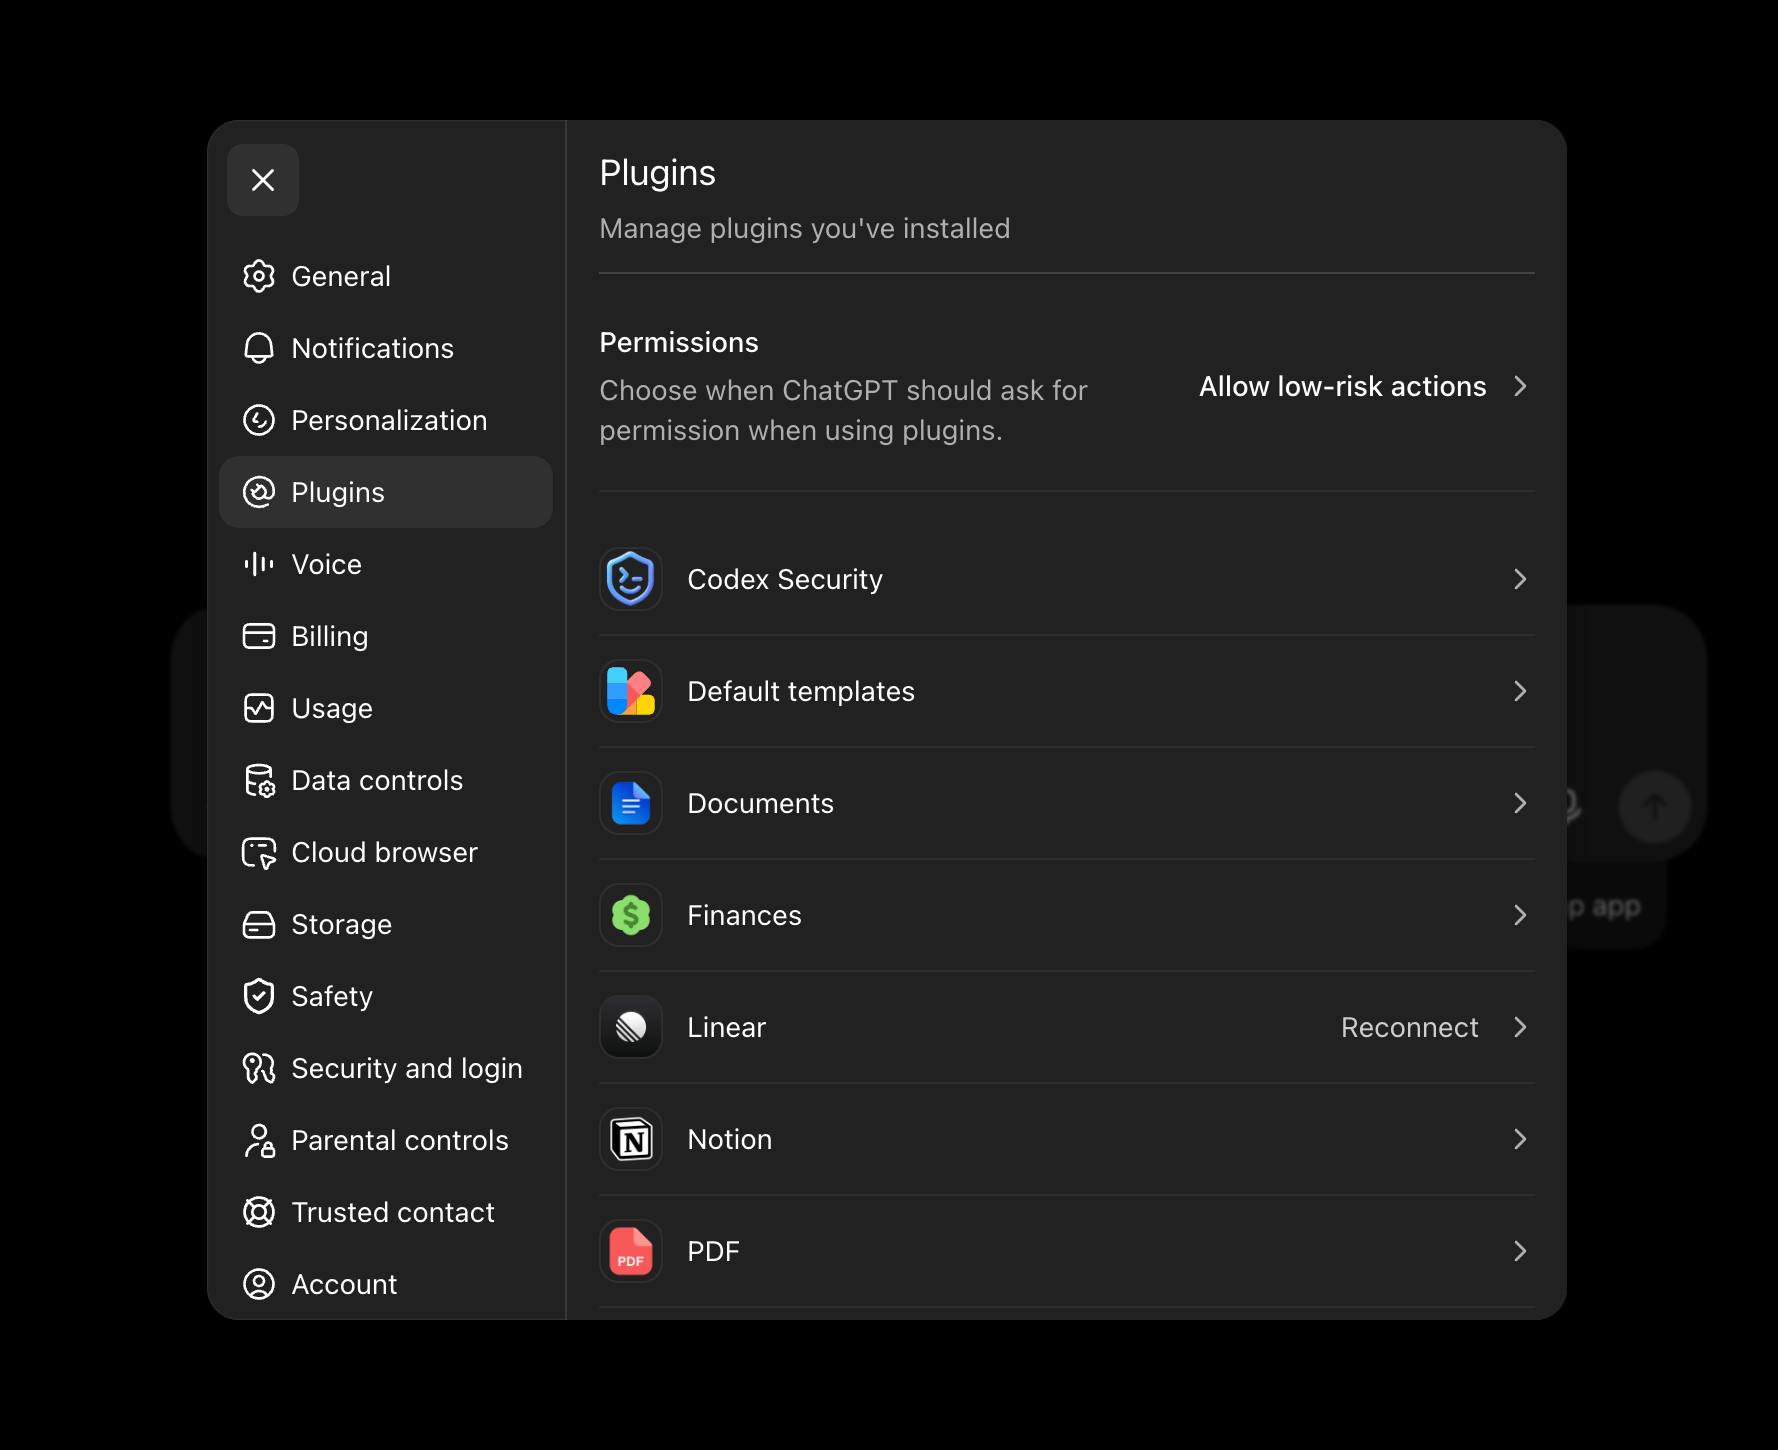
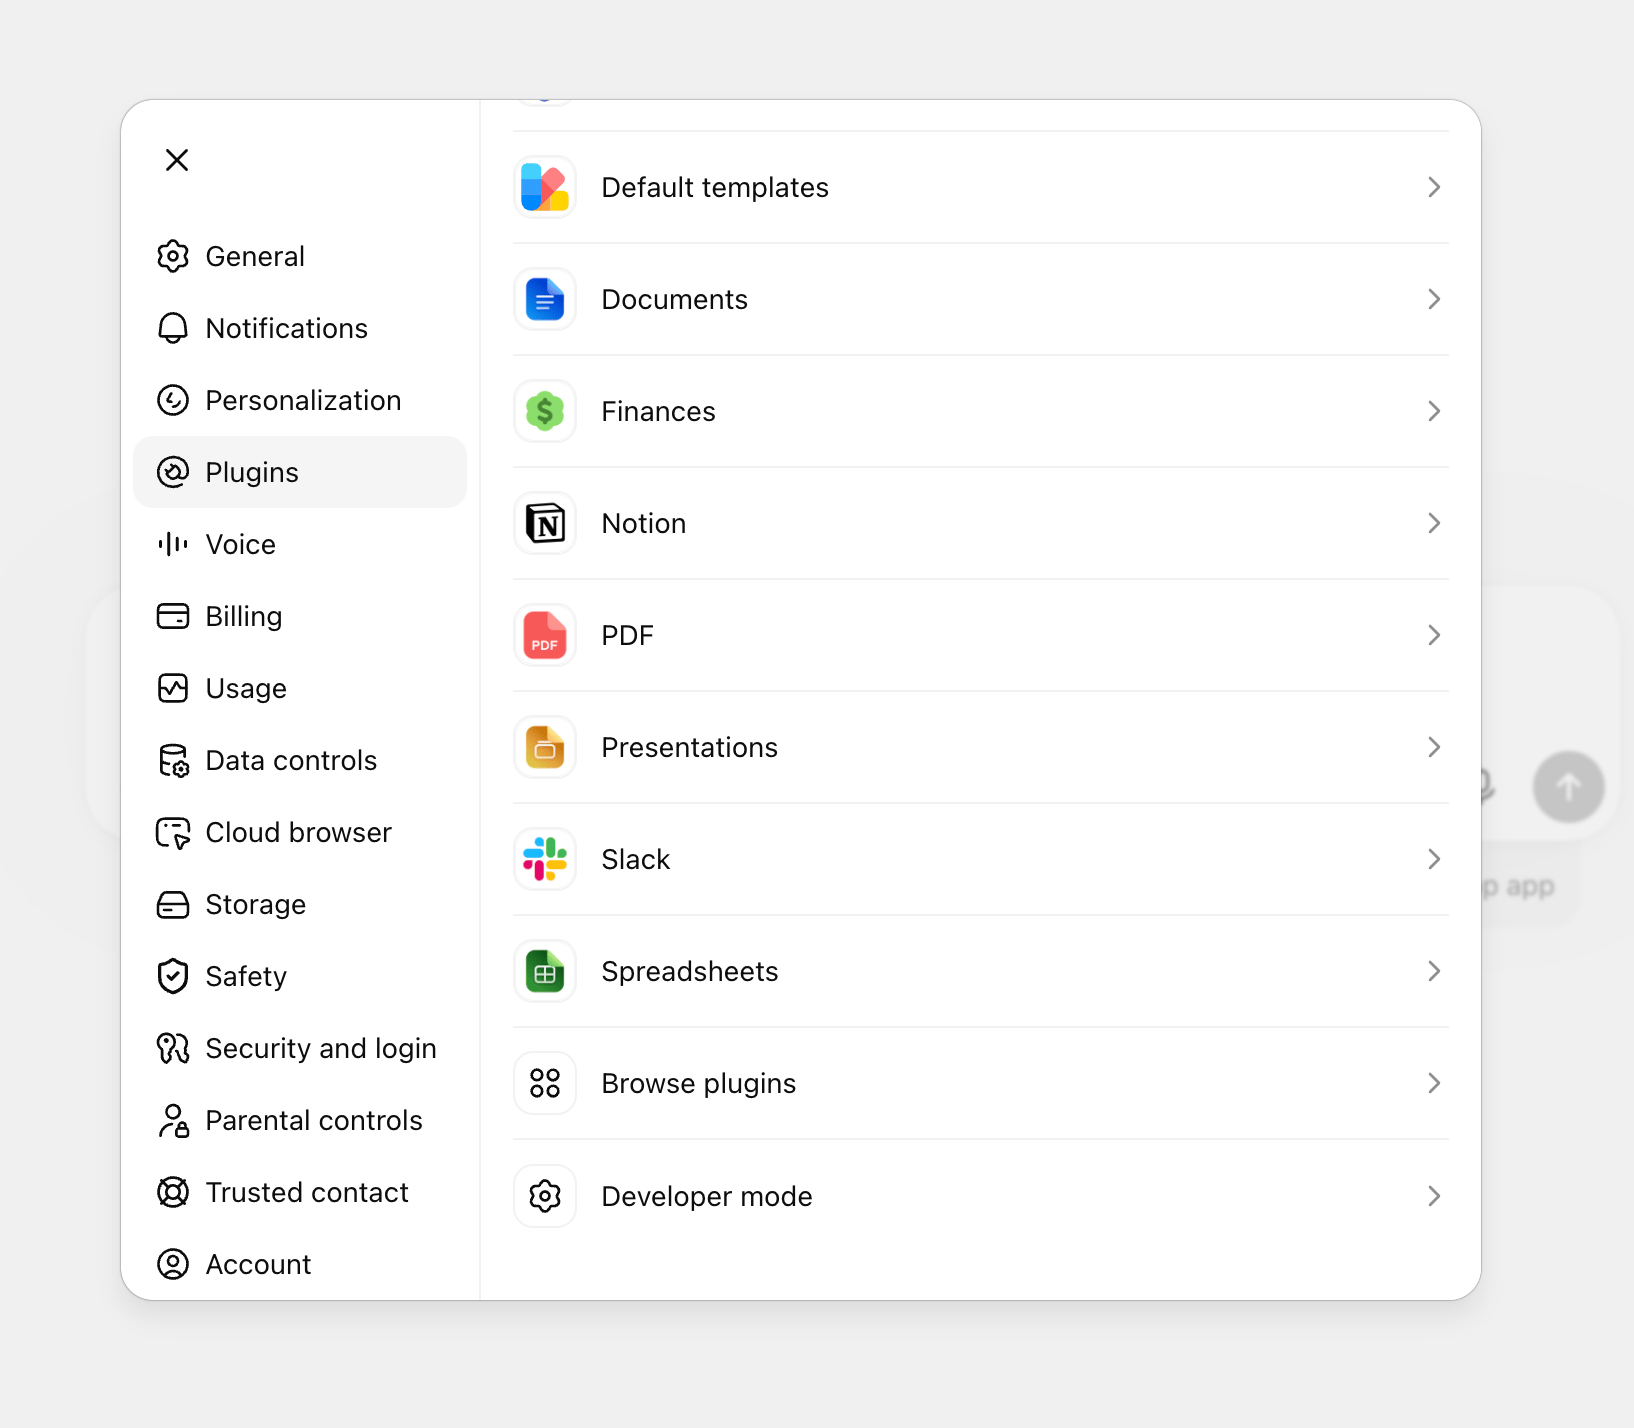
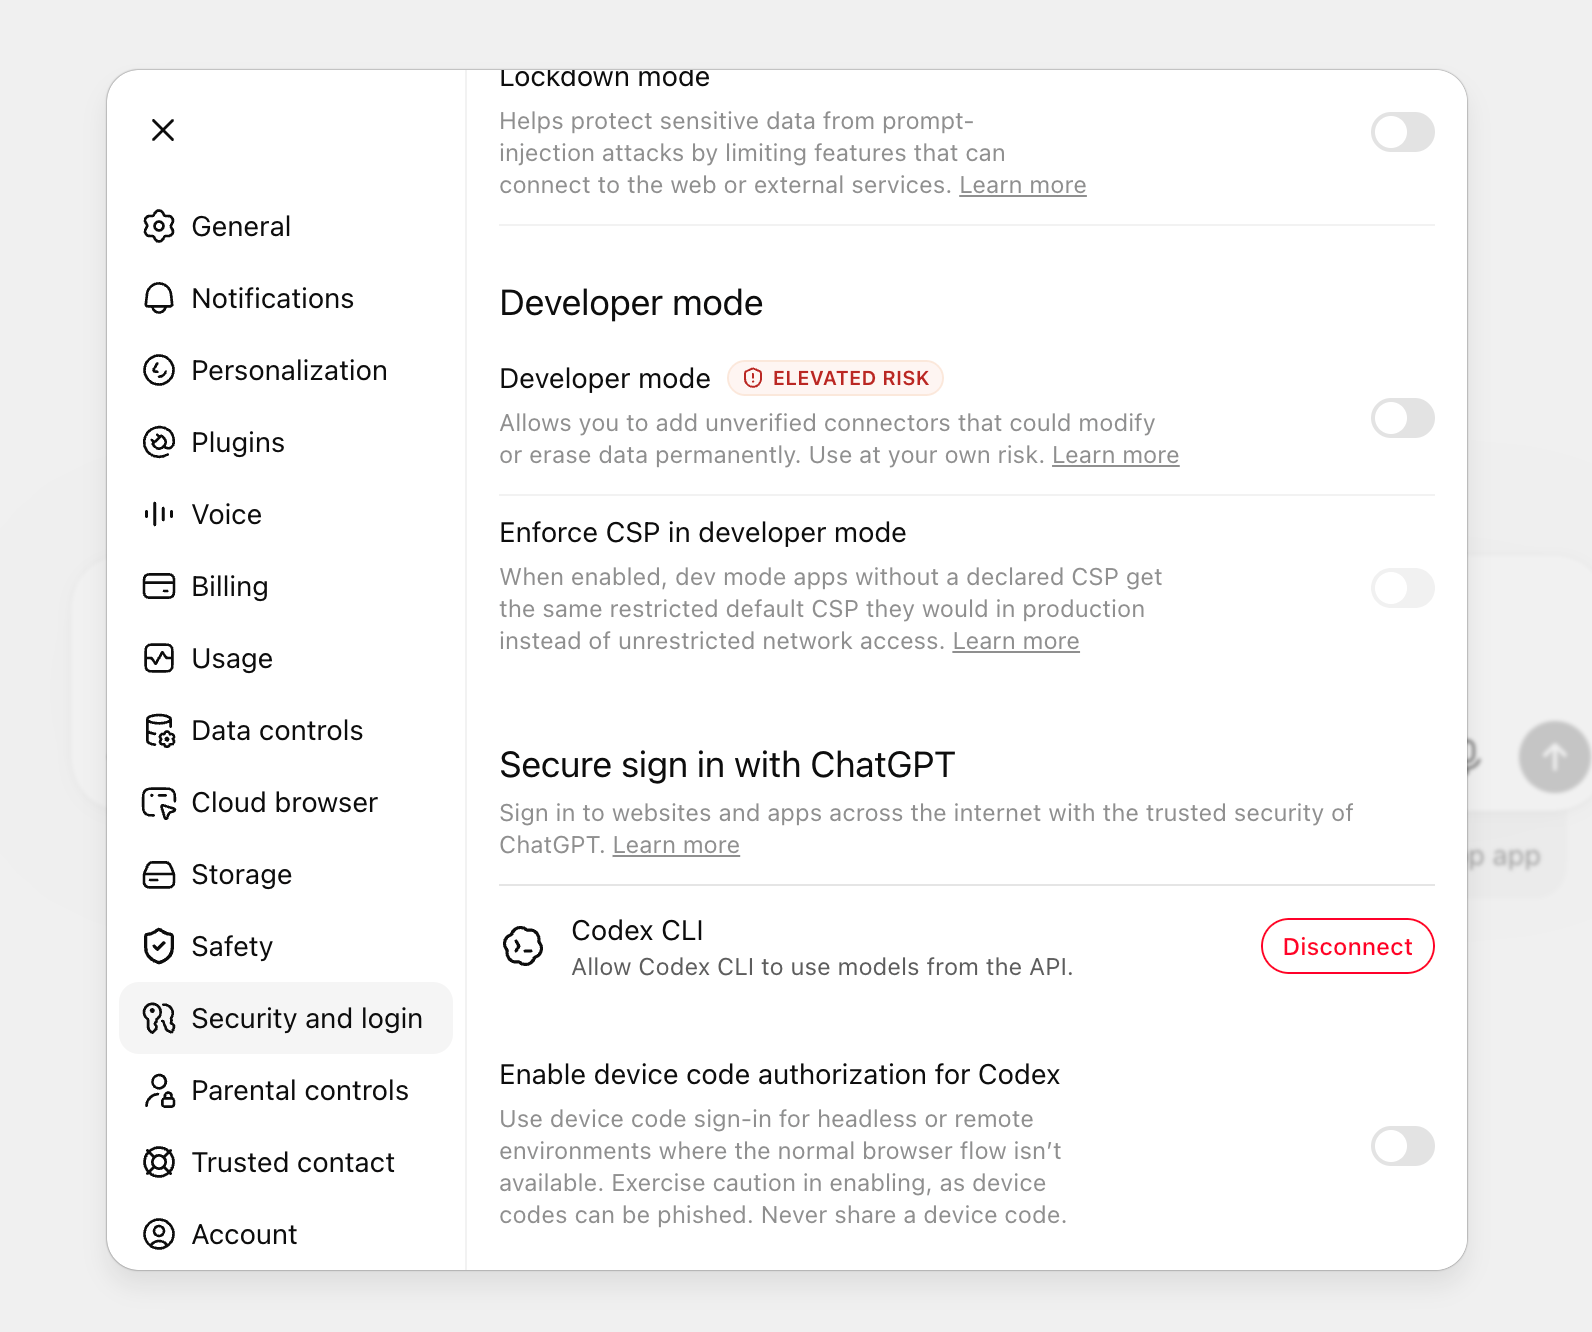
Step 3: Open Developer mode
Scroll to the bottom of Plugins and select Developer mode.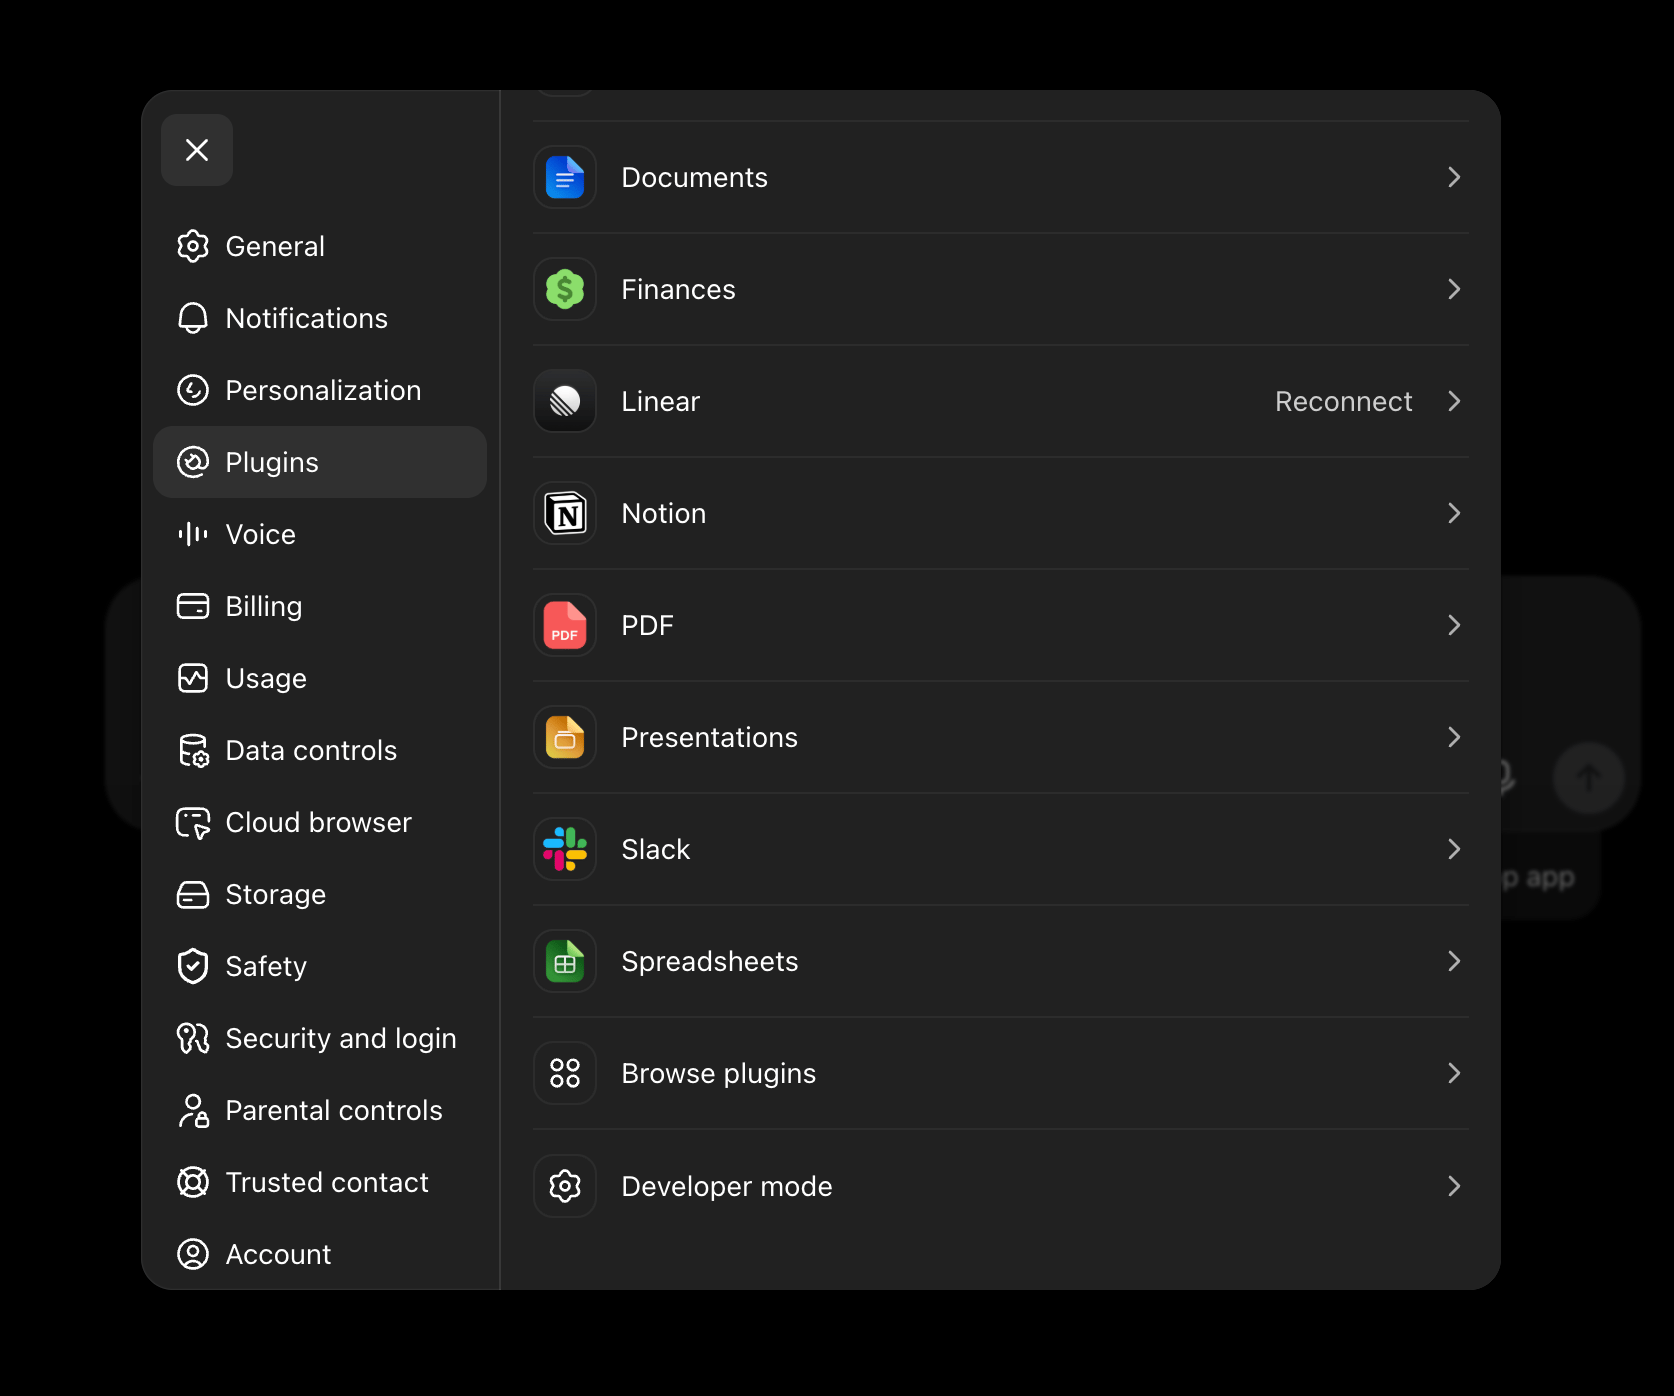
Step 4: Enable Developer mode
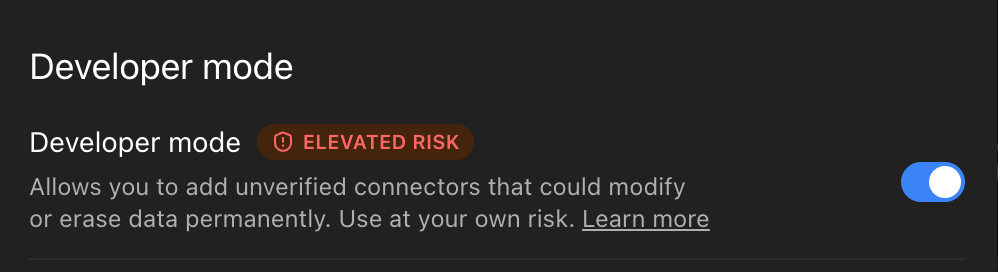
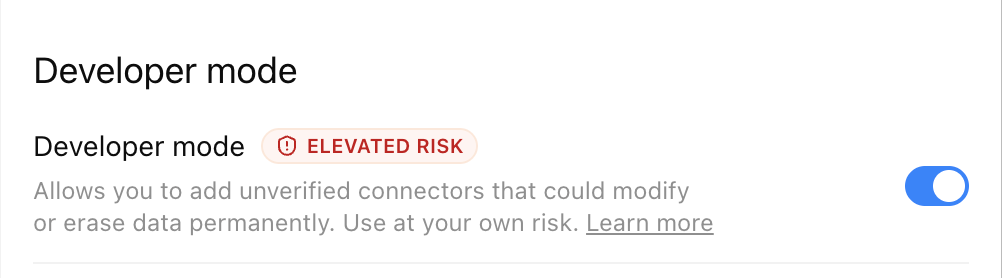
ChatGPT opens the Developer mode section under Security and login. Turn Developer mode on.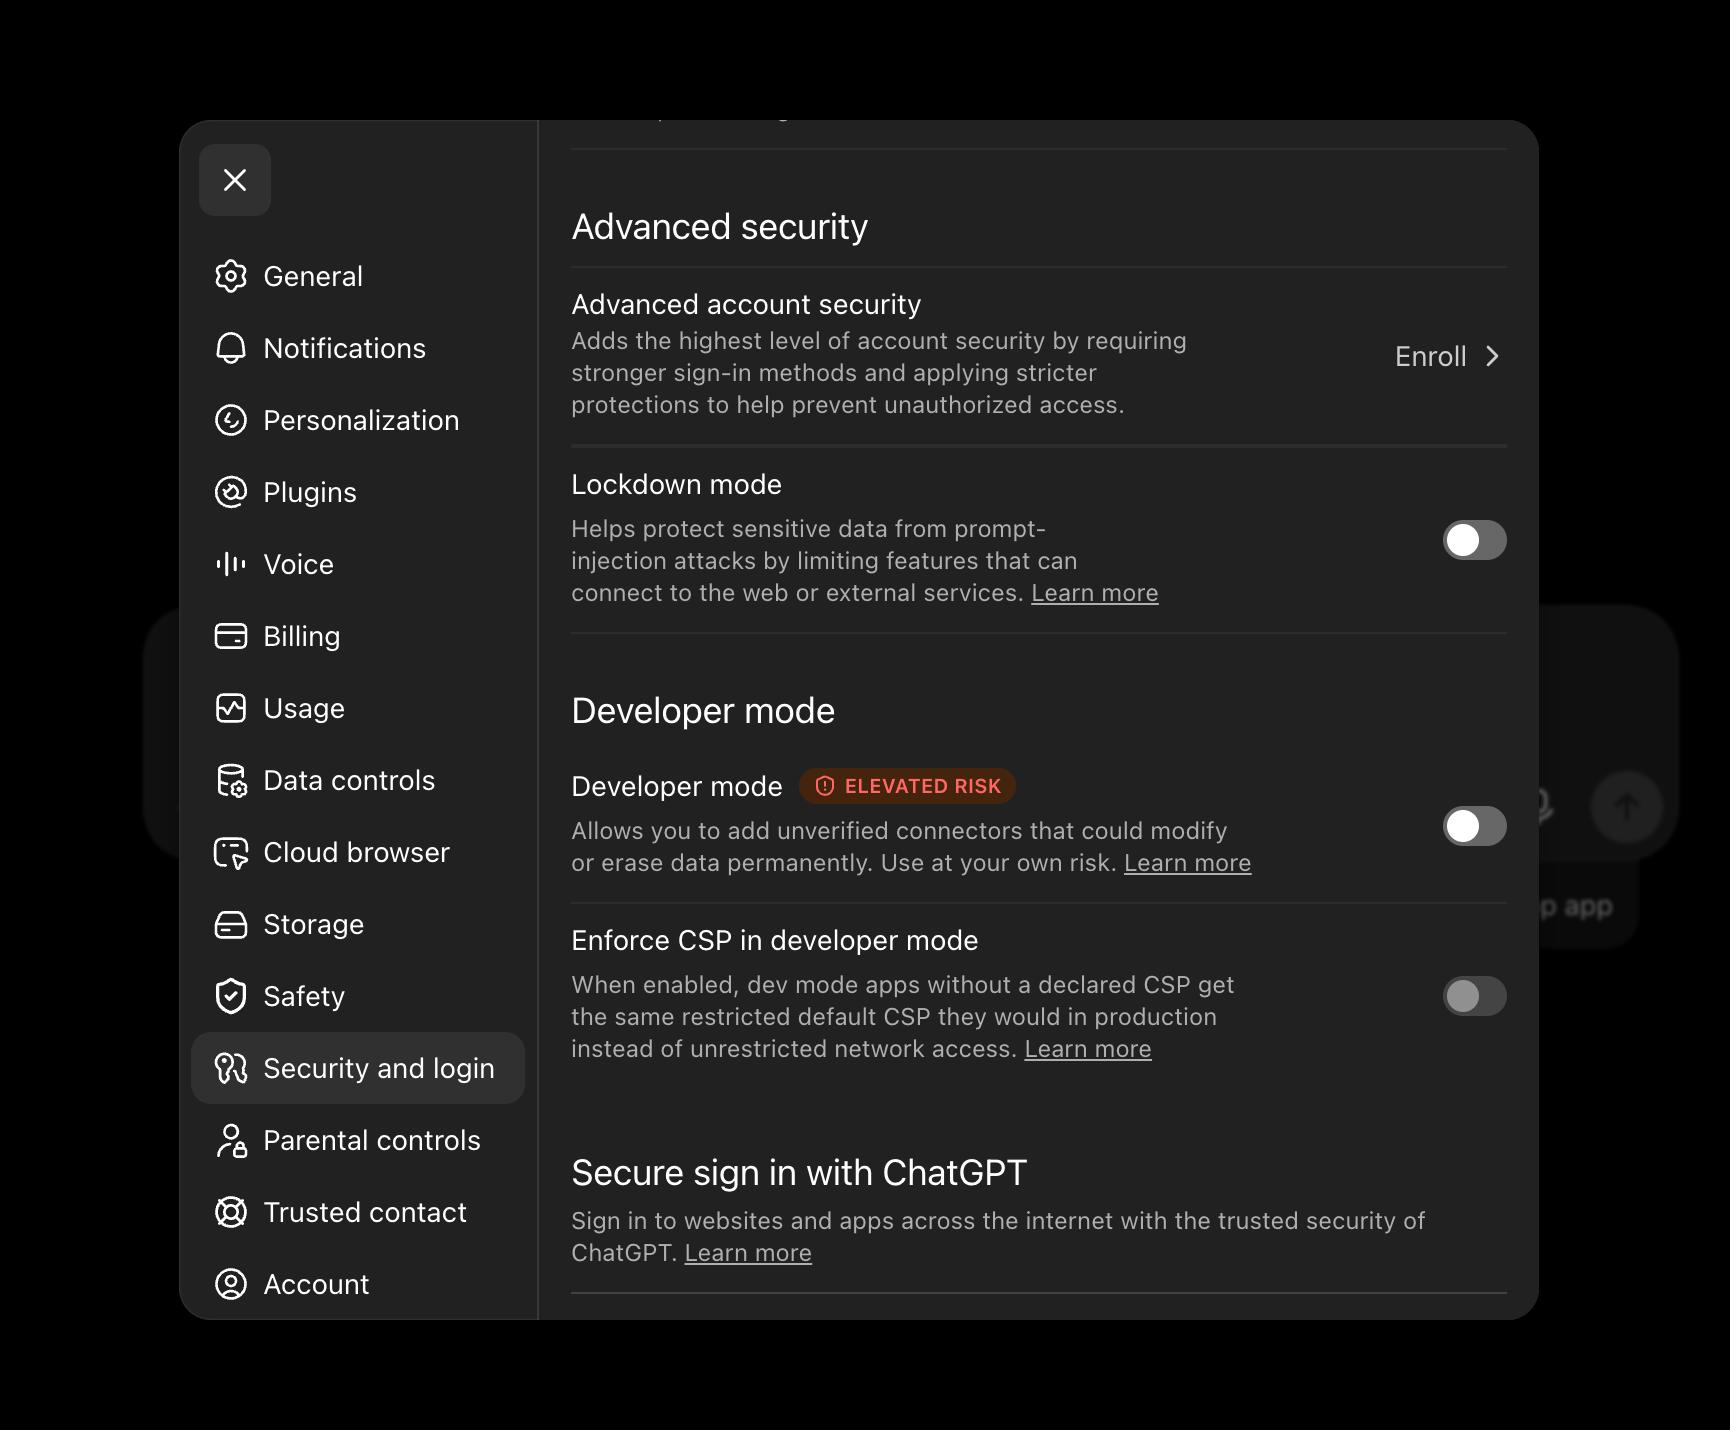
Step 5: Open Browse plugins
Return to Plugins, scroll to the bottom, and select Browse plugins.Step 6: Add a plugin
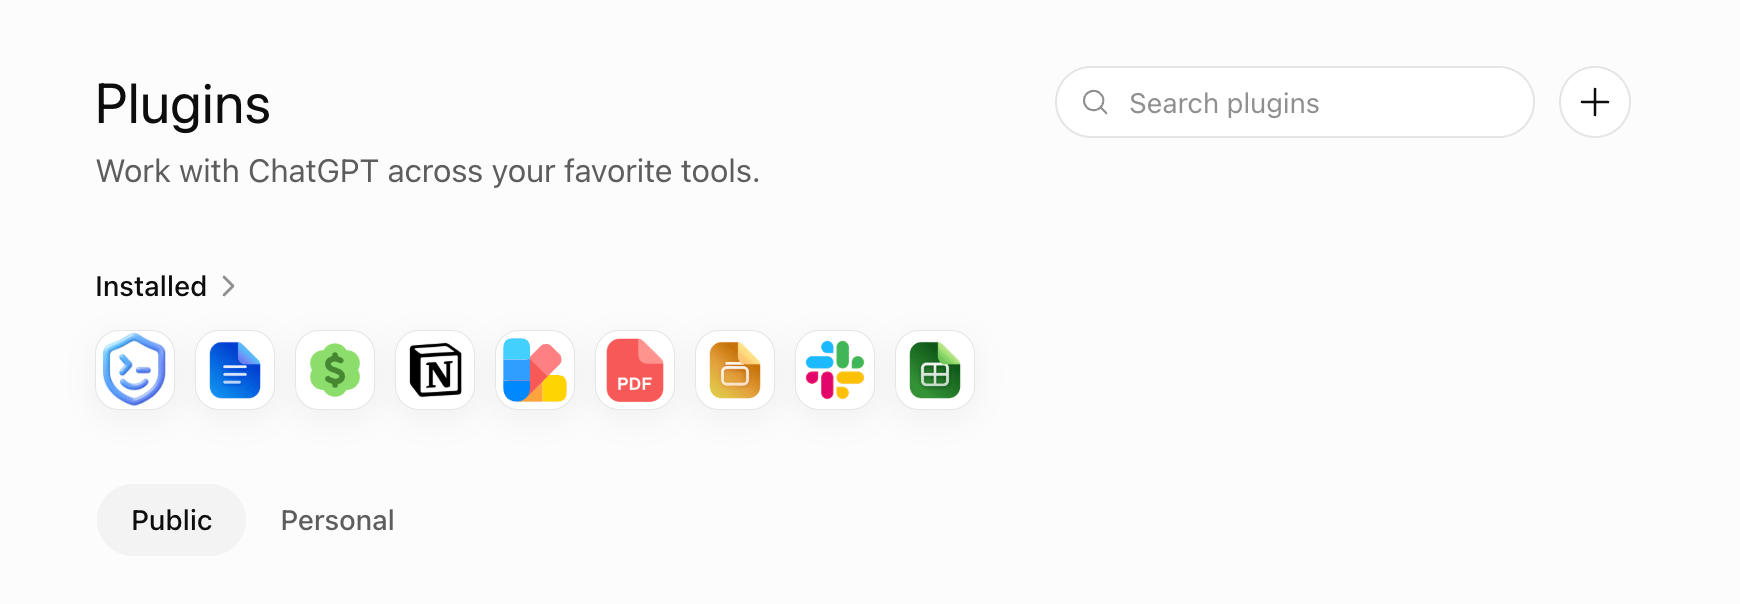
On the Plugins page, select the plus icon in the upper-right corner.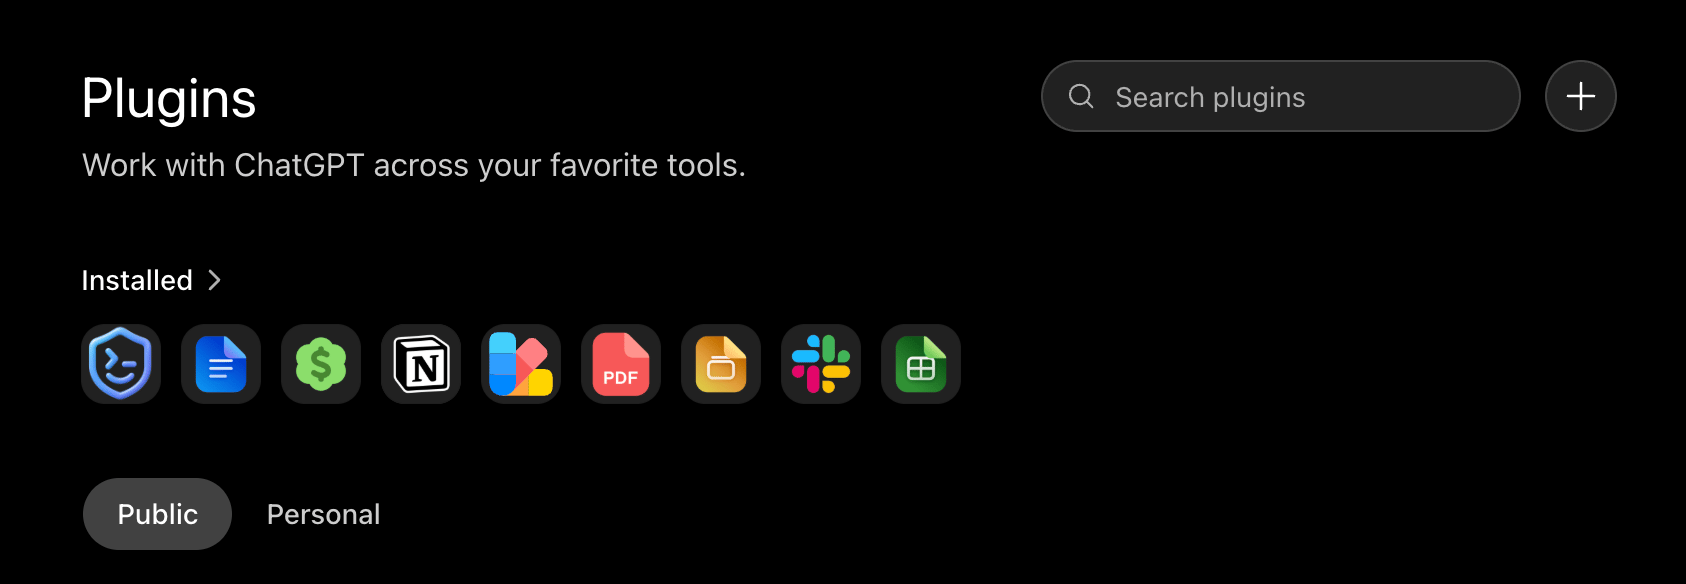
Step 7: Enter the Supermemory details
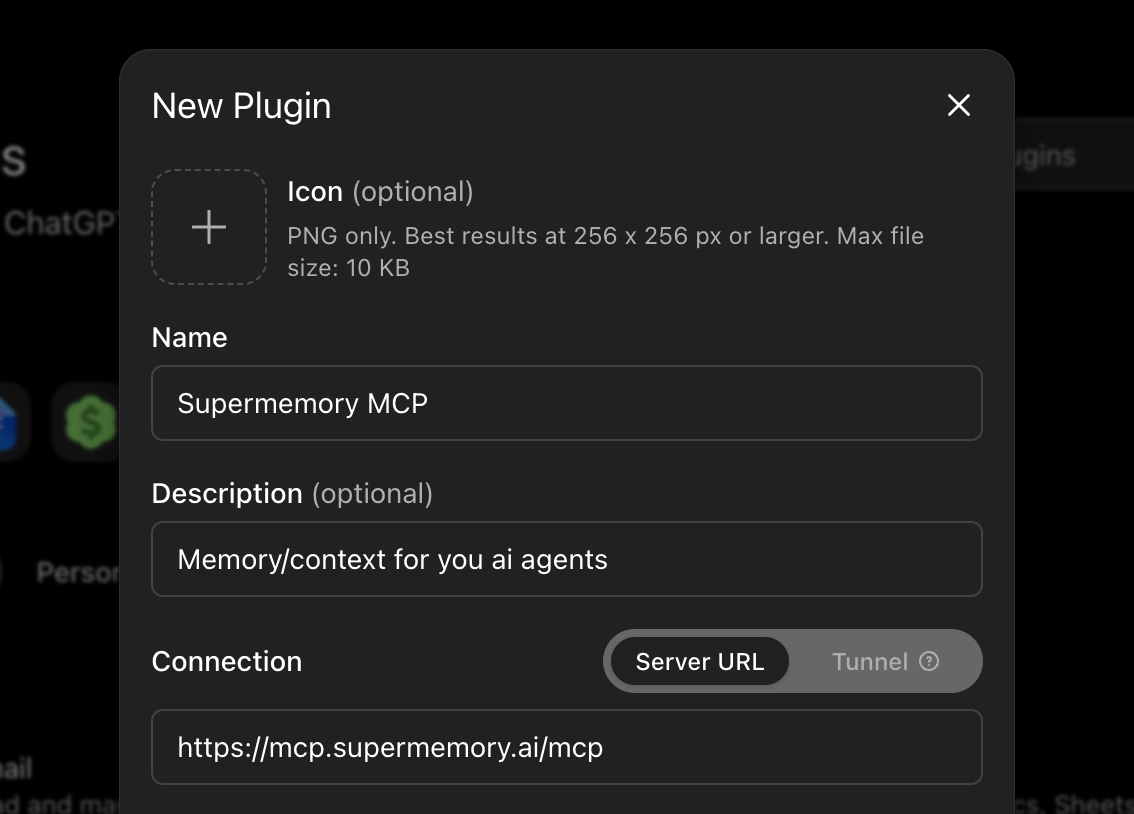
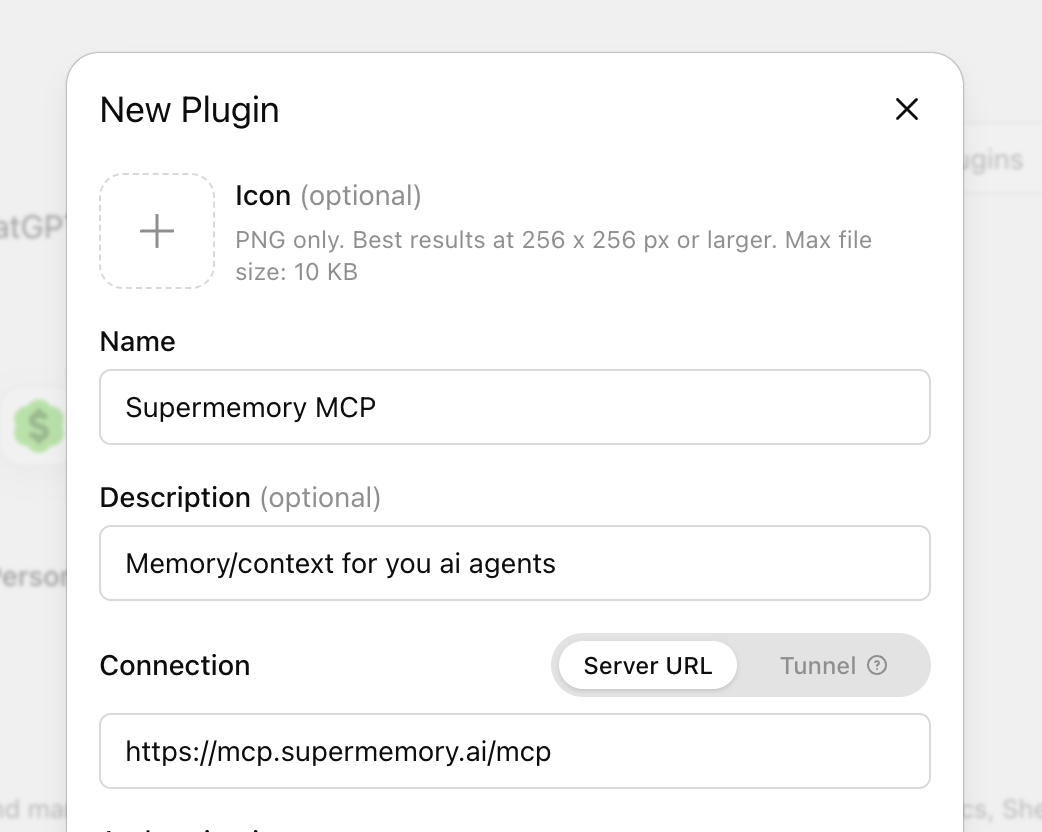
Complete the New Plugin form:- In Name, enter
Supermemory MCP. - In Description, enter
Memory/context for you ai agents. - Under Connection, select Server URL instead of Tunnel.
- In the URL field, paste
https://mcp.supermemory.ai/mcp.
Step 8: Confirm and create
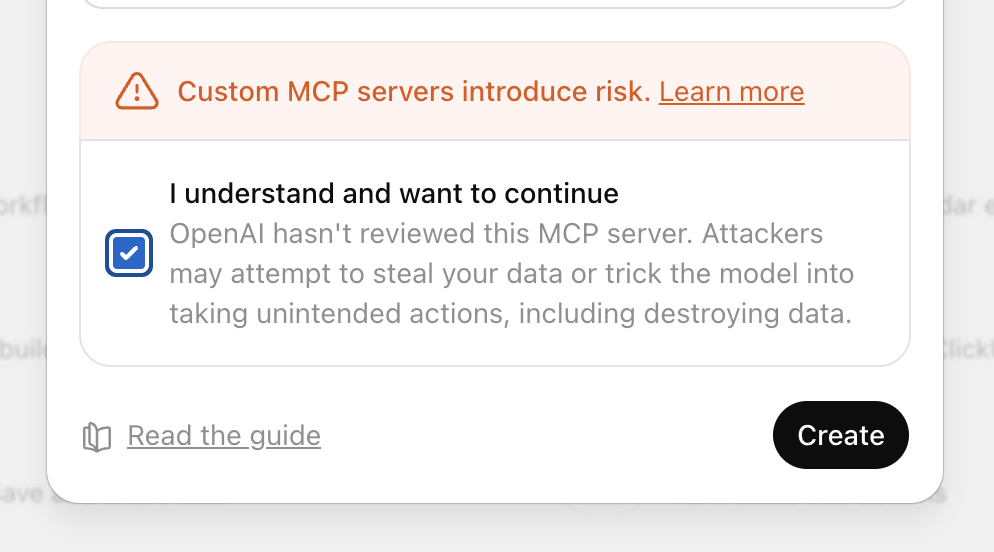
Scroll to the bottom of the form. Select I understand and want to continue, then select Create.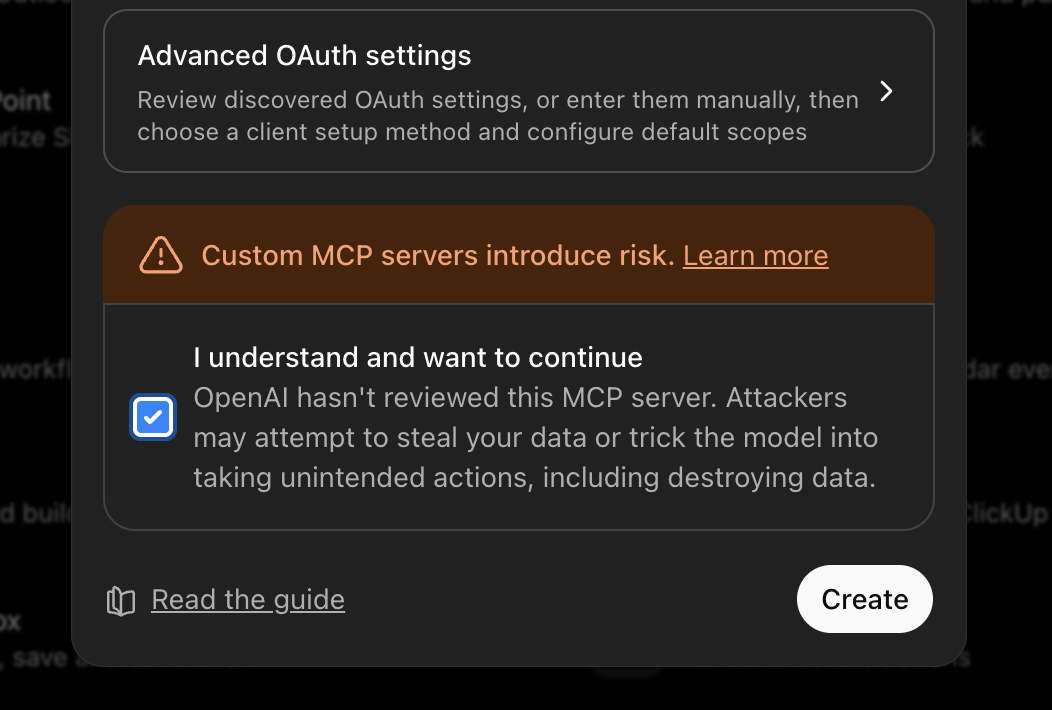
Step 9: Sign in to Supermemory
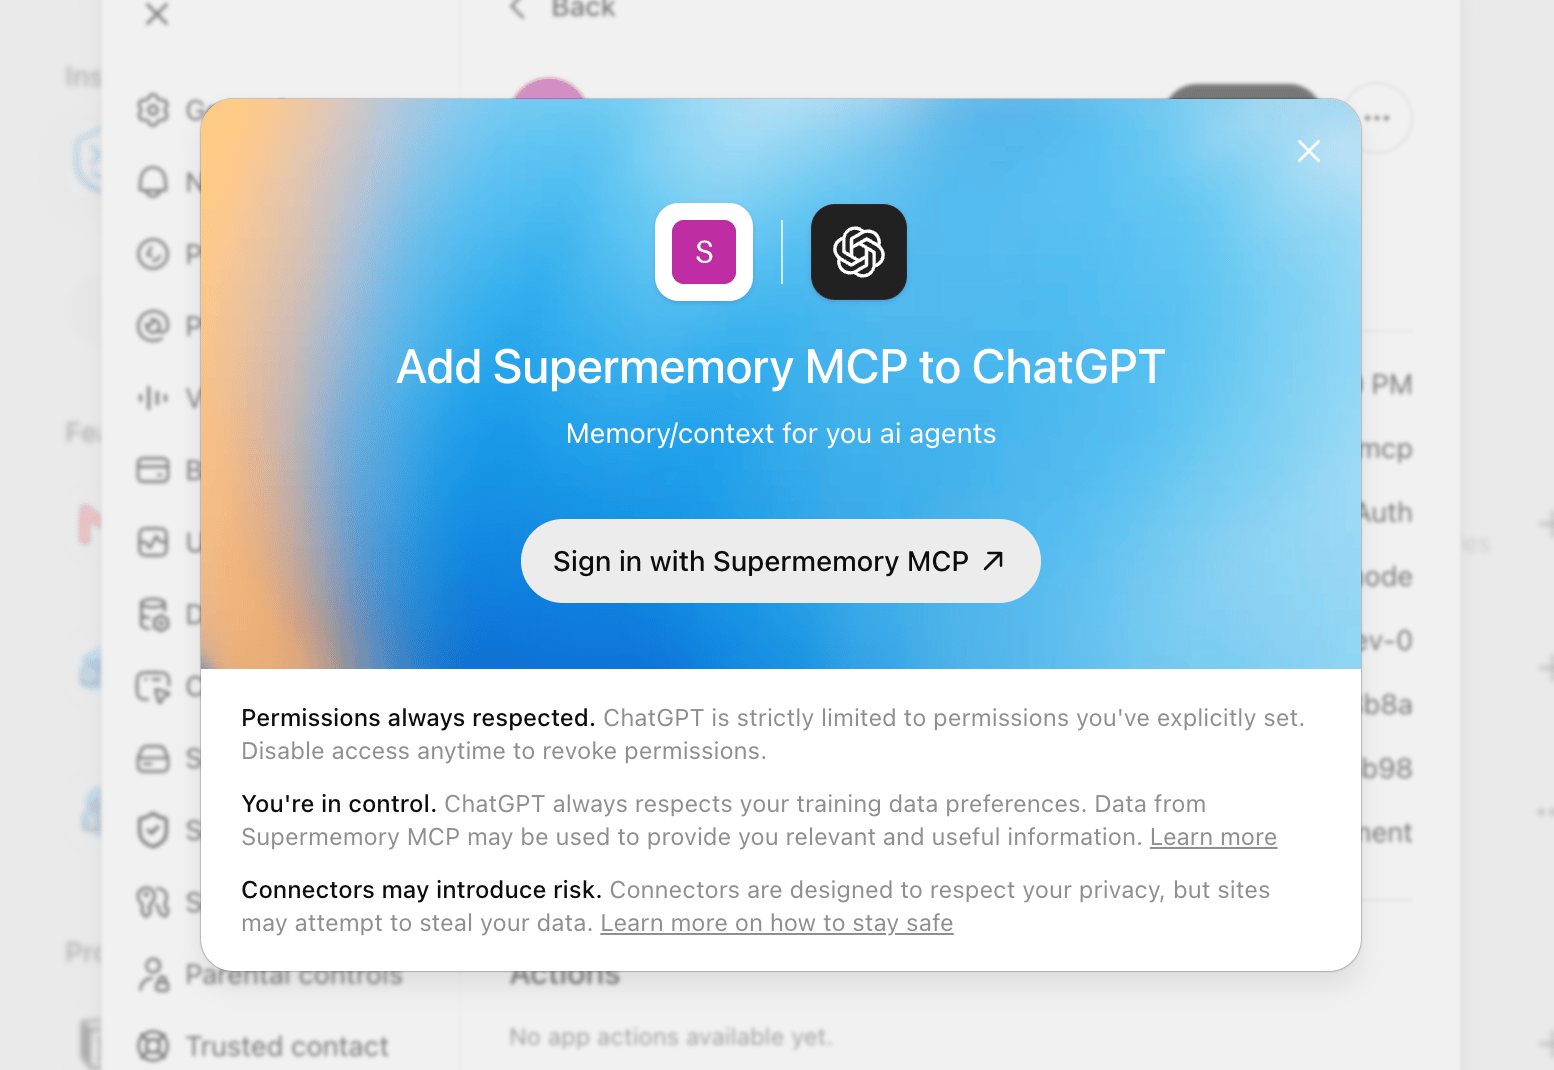
ChatGPT opens the Add Supermemory MCP to ChatGPT dialog. Select Sign in with Supermemory MCP.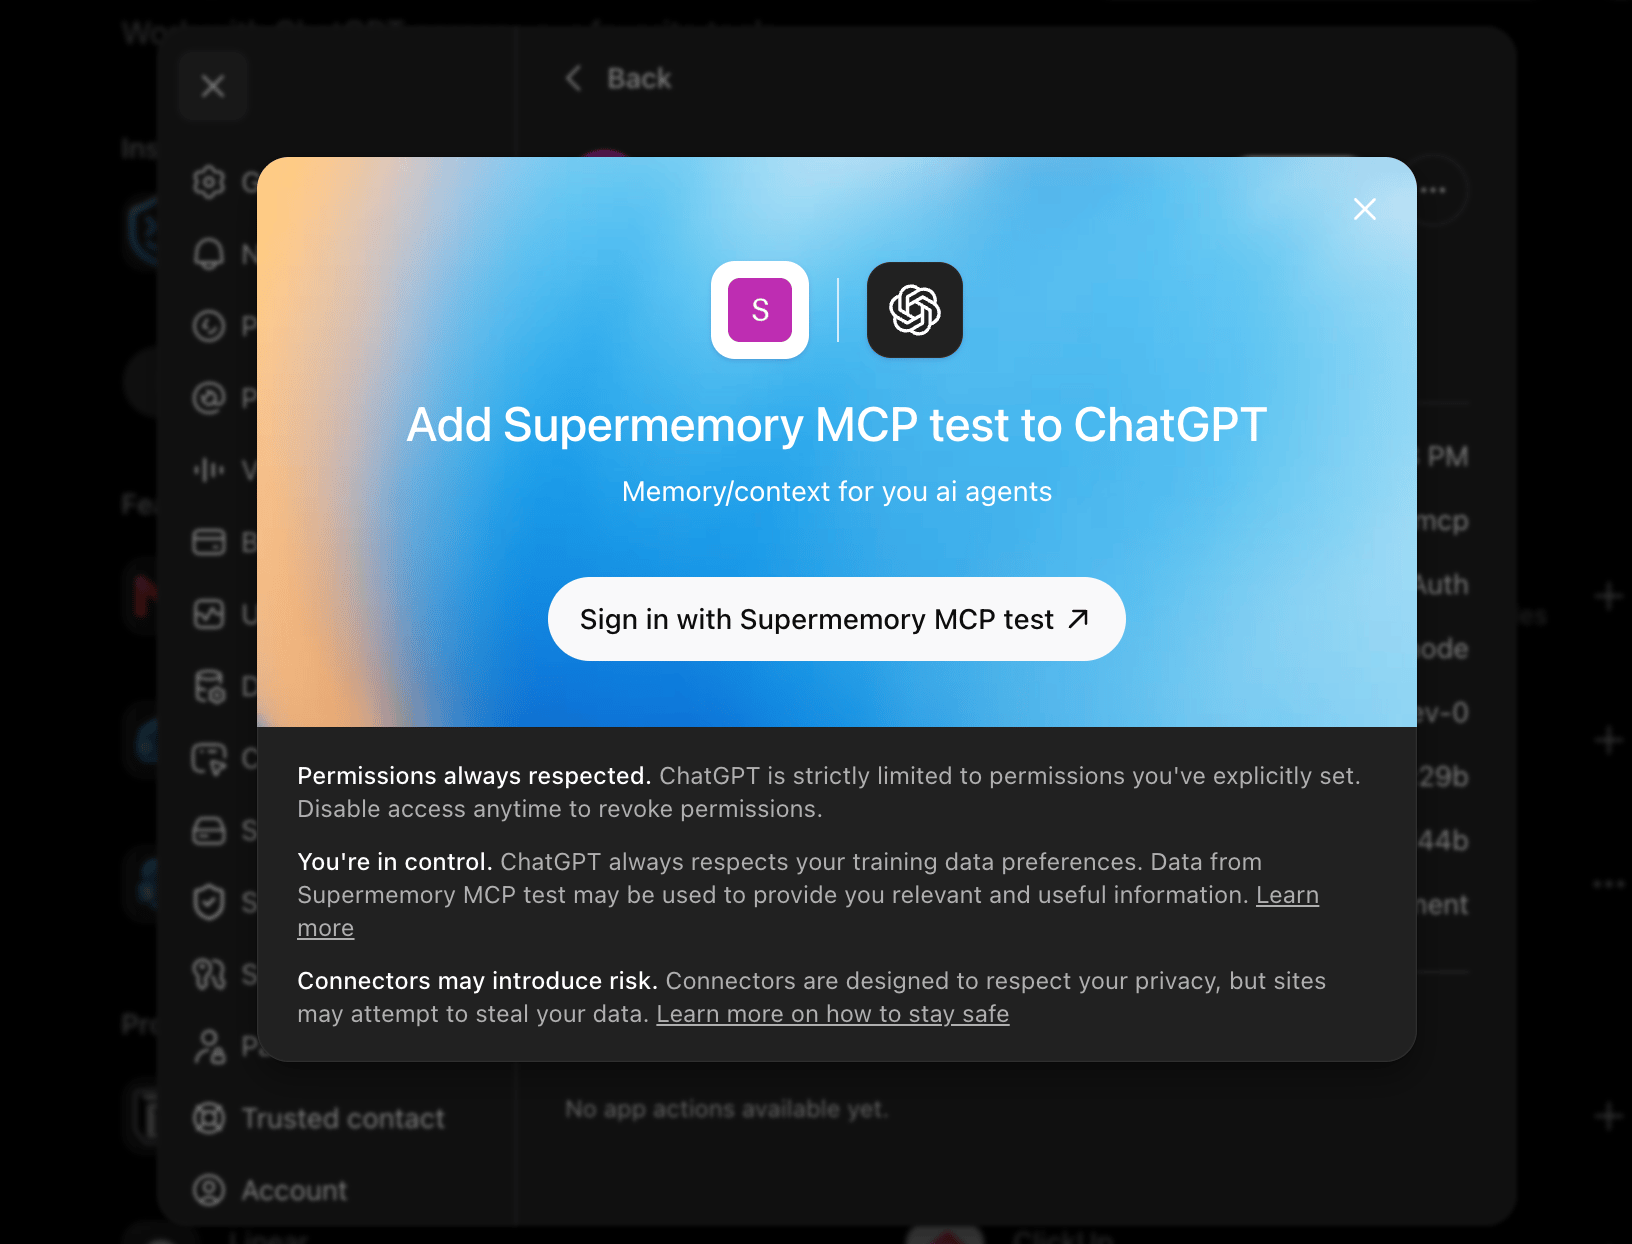
If Supermemory asks you to choose an organization
If Supermemory asks you to choose an organization
Accounts with access to more than one organization may see an organization picker. Select the organization you want ChatGPT Web to use.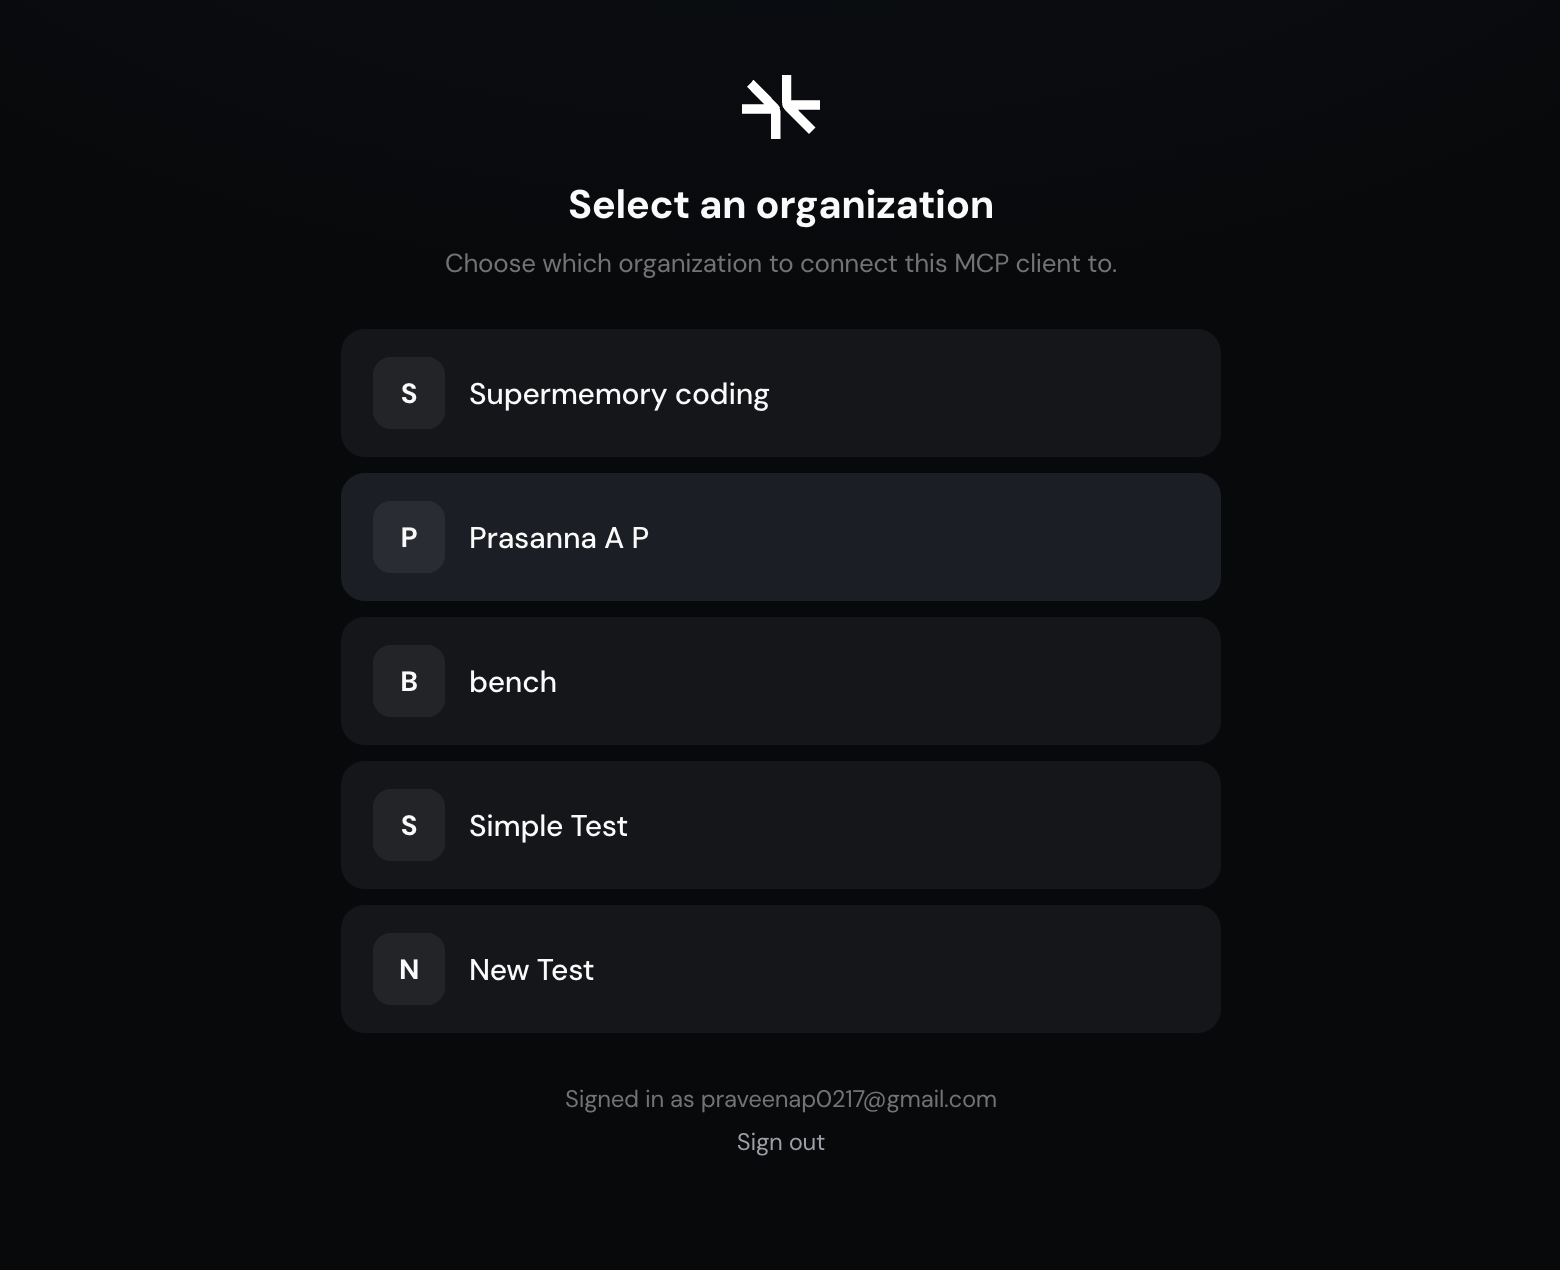
Step 10: Approve access
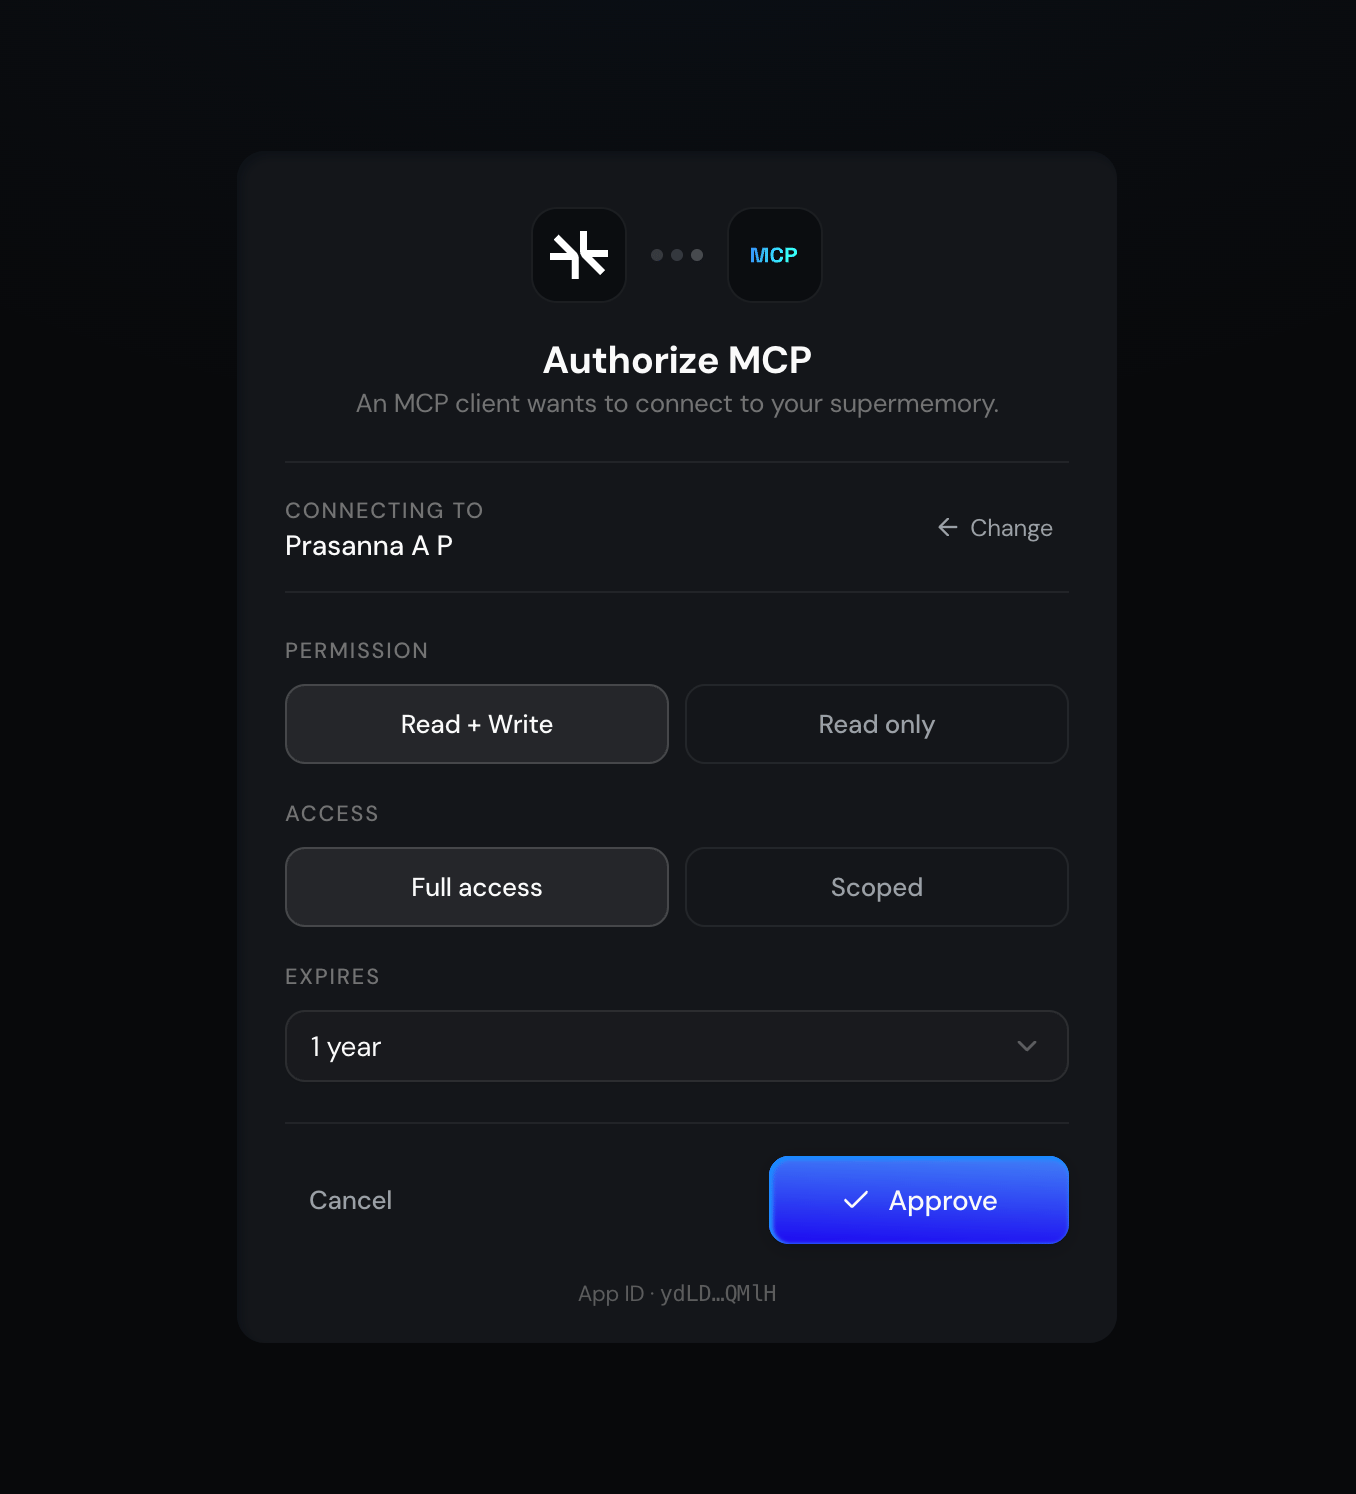
On the Supermemory authorization page:- Select Read + Write to let ChatGPT search and save Supermemory context. Select Read only if you only want search access.
- Select Full access to use every available space, or Scoped to choose specific spaces.
- Choose how long the connection should remain active.
- Select Approve.
Step 11: Start using Supermemory
After approval, ChatGPT returns to the Supermemory MCP plugin page. Select Try in chat.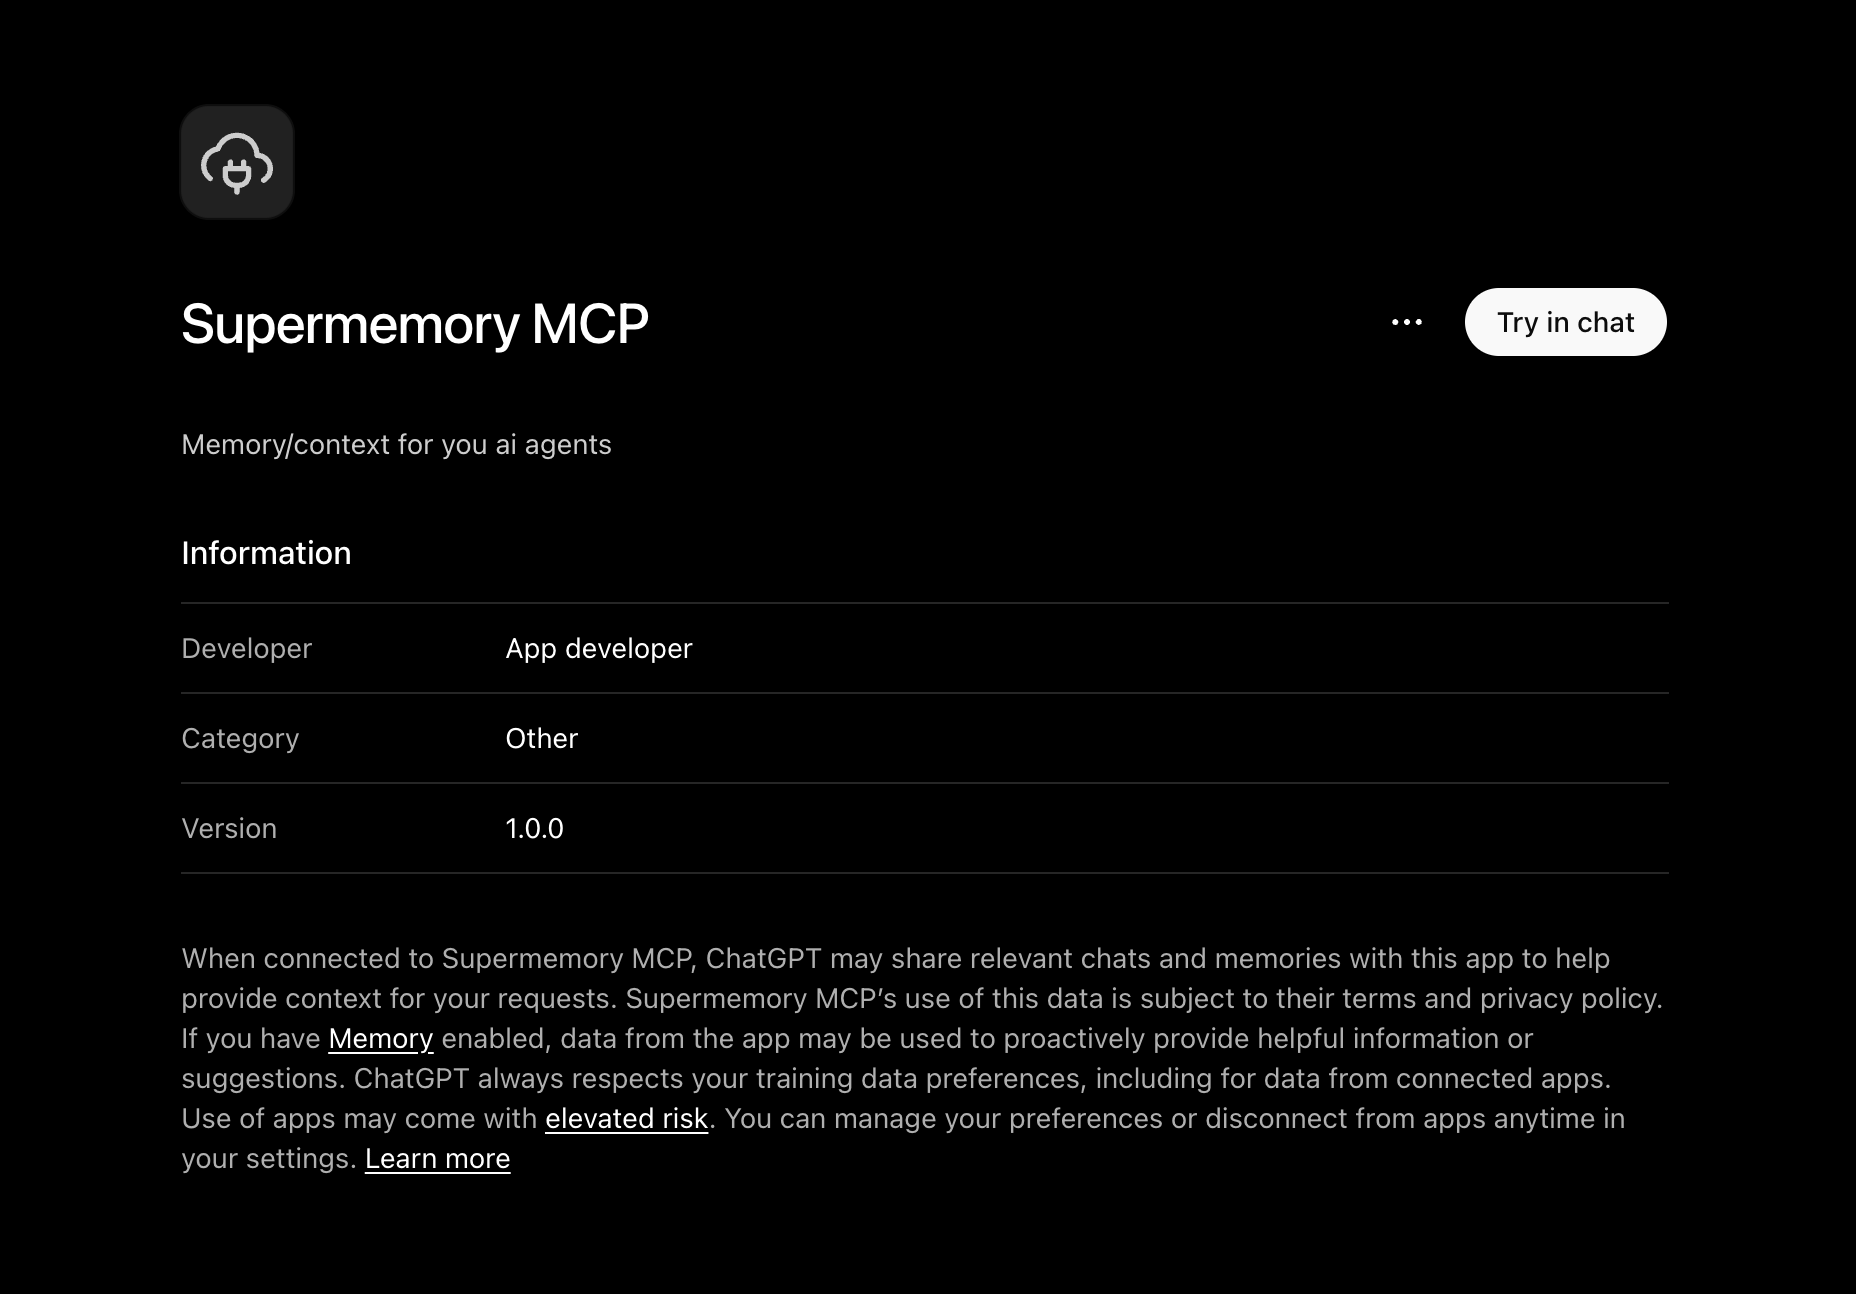
Done
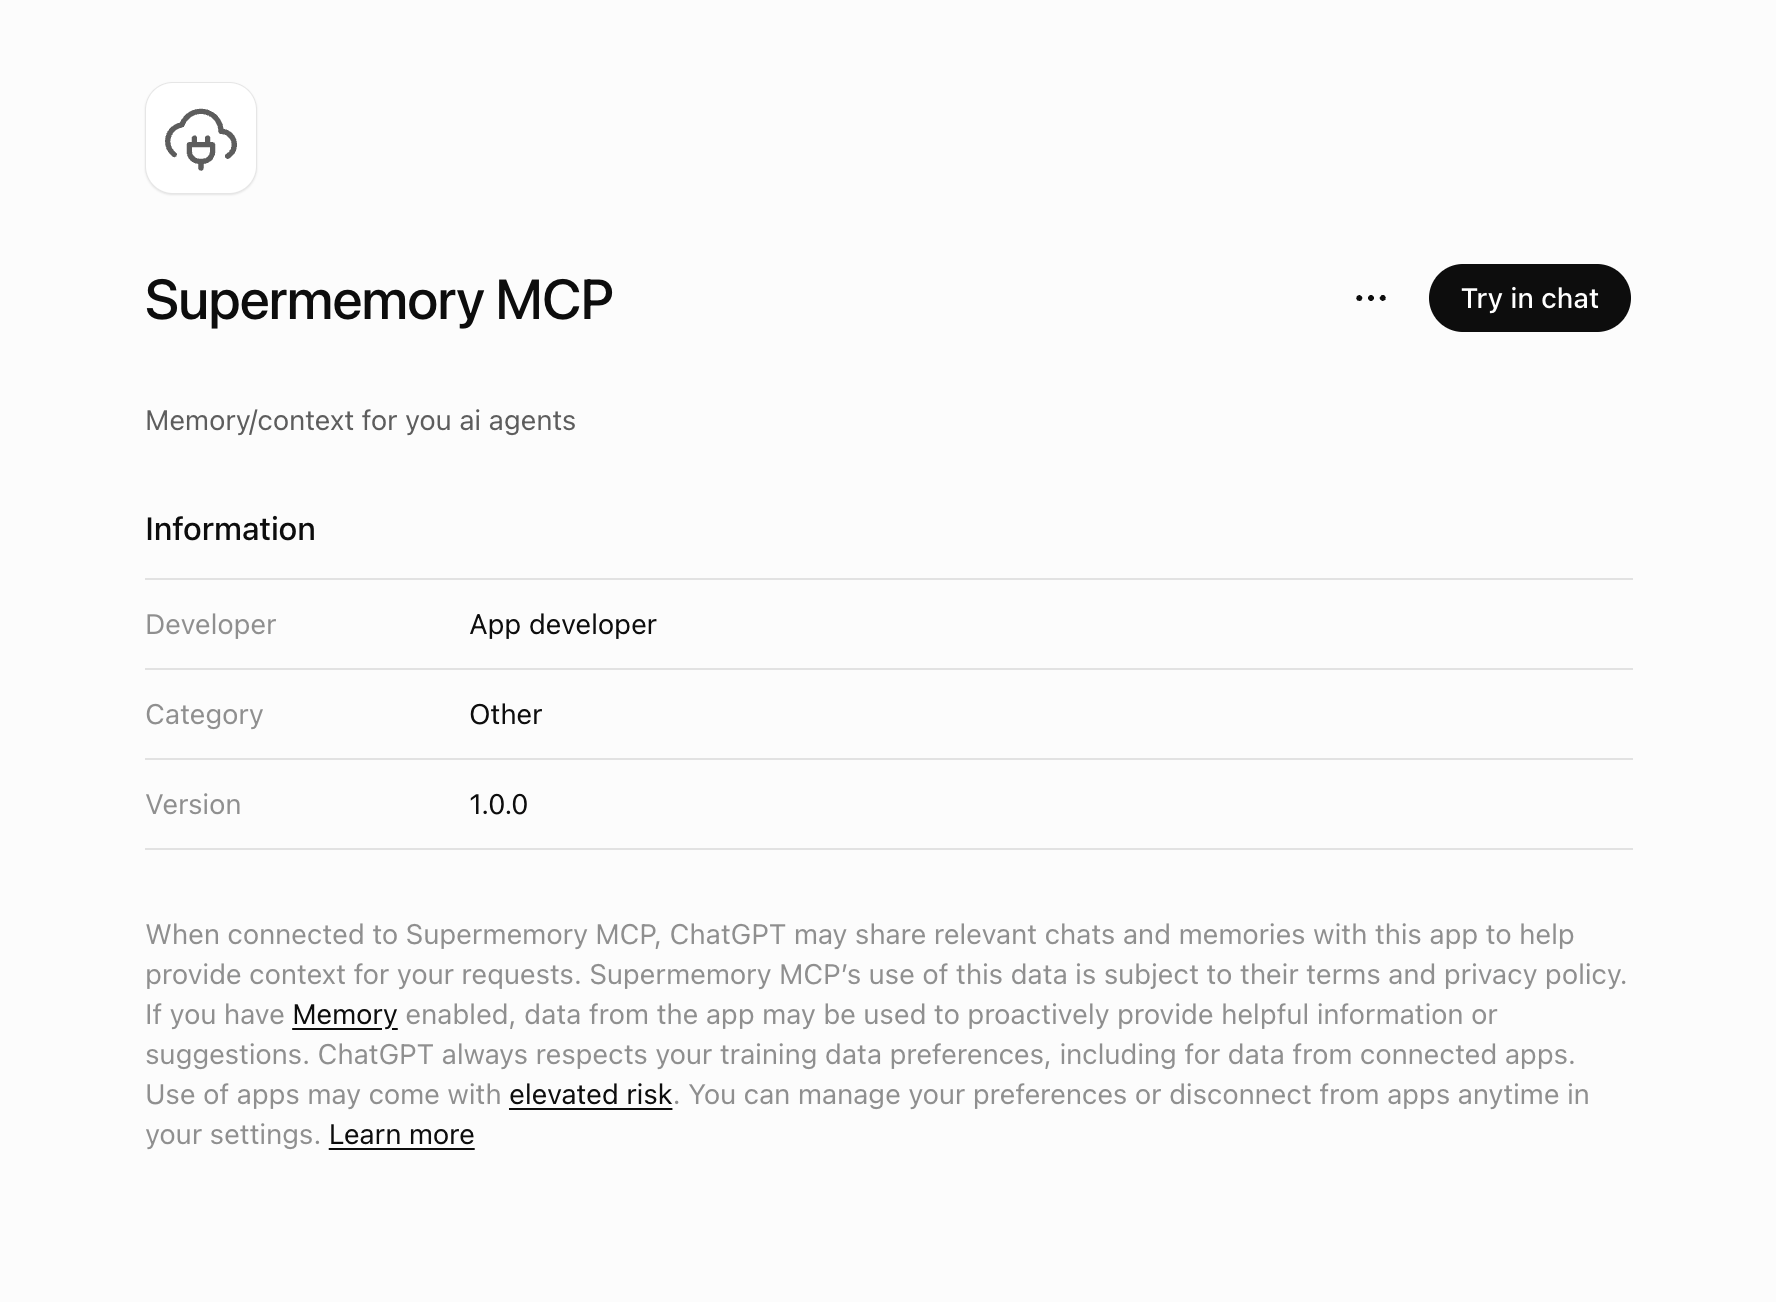
Supermemory MCP is now ready to use in ChatGPT Web. You can manage or disconnect it later from the Plugins page.Frequently asked questions
How do I make Supermemory the default memory in ChatGPT?
How do I make Supermemory the default memory in ChatGPT?
1
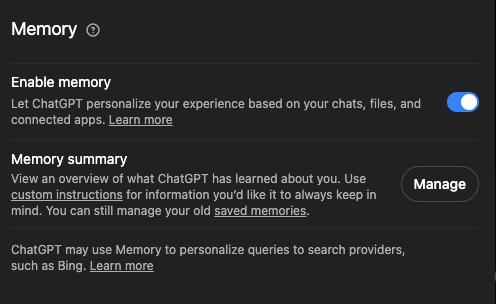
Turn off ChatGPT memory
Turn Enable memory off.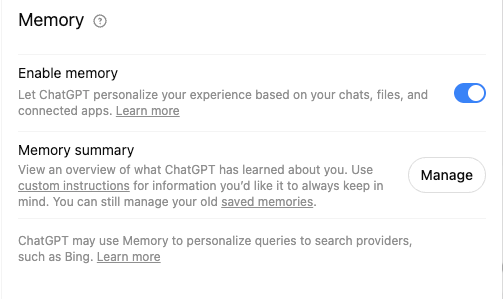
2
Optionally copy your existing memory
If you want to keep a copy of ChatGPT’s existing memory, select Manage and copy the memory summary. Open a chat with Supermemory enabled, paste the summary, and say
Add this to Supermemory.3
Make Supermemory the default
Paste this into Custom instructions: